Microsoft Windows Vista Beta 1 Installation - Part 2
Prior to this article which is at Microsoft Windows Vista Beta 1 Installation the installation steps of Microsoft Windows Vista Beta 1 has come up to point where the name of the computer and the installation drive for the operating system is requested by the installation wizard.
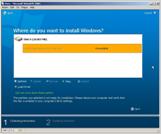
You can see the screen below.
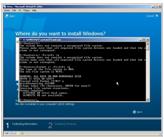
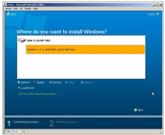
We encounter the second problem here. The screen is below.
The page requests from the user to enter a partition that the Vista Beta 1 installation will be saved on.
Unfortunately at that current moment, you will be warned about the following error:
The partition you selected is not available for installation. Please reboot your computer and verify that the disk is enabled in your computer's BIOS settings.
We have already created a virtual disk but the partitions are not available yet.
Here is the second trick.
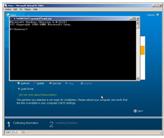
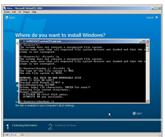
Enter the command line on the screen by clicking SHIFT-F10 key combination.
You will notice that on the command screen it is written : Microsoft Windows [Version 6.1.5112]
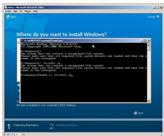
On the command prompt write the below code and execute it shown at the picture.
Command line prompt is : X:\Sources>format c: /fs:ntfs /q
When you type "format c: /fs:ntfs /q" and run it, you will be prompted to format which will cause data to be lost or not.
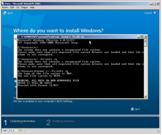
X:\Sources>format c: /fs:ntfs /q
The type of the file system is RAW.
The new file system is NTFS.
WARNING, ALL DATA ON NON-REMOVABLE DISK DROVE C: WILL BE LOST?
Proceed with Format (Y/N)?
We will select Y to continue installation. This format will be done on the virtual disk. So no worry about the physical disk or about your host system.
Format is approved. It is quick formatting now. And after the format is completed you can restart by typing "shutdown /r" on the command promt and then press Enter.
Windows Vista (Longhorn) and installation is restarting. Now we have a formatted NTFS partition.
When the installation reaches where we select partition which Windows Vista Beta 1 will be installed, we can continue Partition 1 as the OS installation partition.
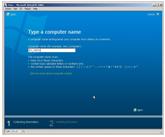
After you select the partition, you will enter a name for the computer. It is an easier task so
we end editing the installation configuration screen by clicking over the computer name suggested by the installation wizard.
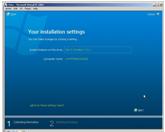
As you see below just type a name for the Beta 1 version of Microsoft Windows Vista. Valid entry for a computer name is explained on the form.
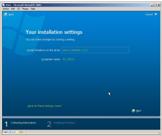
My installation configuration settings screen was like this :
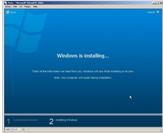
When you click the Next button, the collecting configuration settings data phase is finished. And now Installing Windows phase starts.
On the screen it is written that :
Windows is installing...
That's all the information we need from you. Windows will now finish installing on its own.
Note : Your computer will restart during installation.
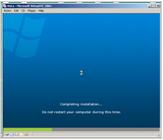
After this point all you have to do is wait for the installation wizard to finish installing Windows Vista Beta 1. This period is about 2 hours for my case.
There is a warning on the screen saying "Do not restart your computer during this time."
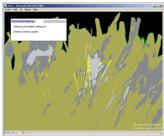
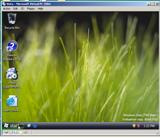
After the installation completes successfully, the desktop appeared as shown below for my computer. It is obvious that there is a graphics driver problem. Just as earlier builds of Longhorn.
The installation is now setting up personalized settings for Windows Desktop Update.
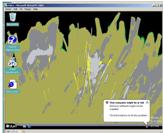
And the installation is now completed. On the below screen there is just an antivirus software install warning. You see the icons and the taskbar.
To have a good view I installed the graphics drivers of the newly installed OS, Windows Vista Beta 1. After the driver installation is also completed I have the following screen view on my desktop.
The configuration of the graphics driver will be an other article subject.
But simply you can manage updating the drivers of Longhorn builds or Vista Beta 1, by unchecking the "Show compatible hardware" checkbox on the Hardware Update Wizard dialog screen.


