Free Windows 10 Upgrade from Windows 8
This Windows 10 guide shows how to upgrade to Windows 10 free from Windows 8 Pro step by step. Microsoft provides Windows 7 and Windows 8 users free upgrade to Windows 10 in one year period.
Upgrade to Windows 10 using Windows Update
I registered for free Windows 10 upgrade of my Windows 8 operating system running PC. I've been waiting for a while and applying all required updates to my computer using Windows Update like security patches, etc.
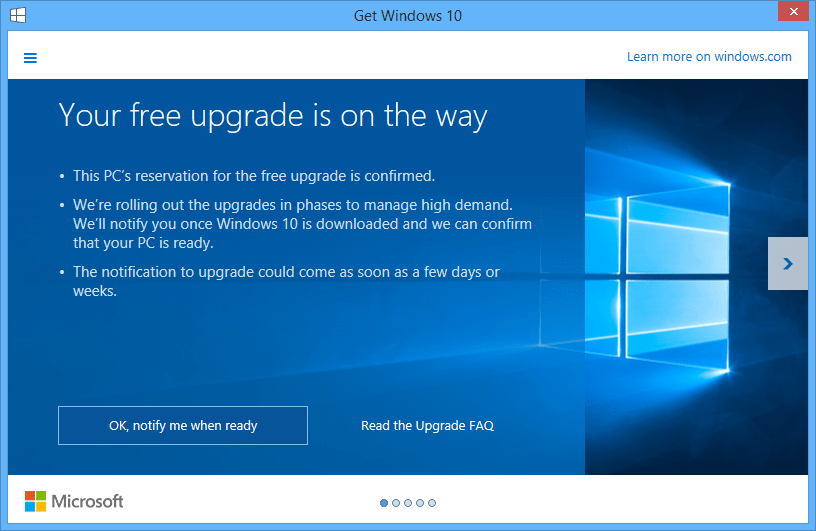
It took nearly 5 days before my registry for free Windows 10 upgrade is confirmed.
I understand that my free upgrade to Windows 10 is ready when I checked the Windows Update Control Panel application.
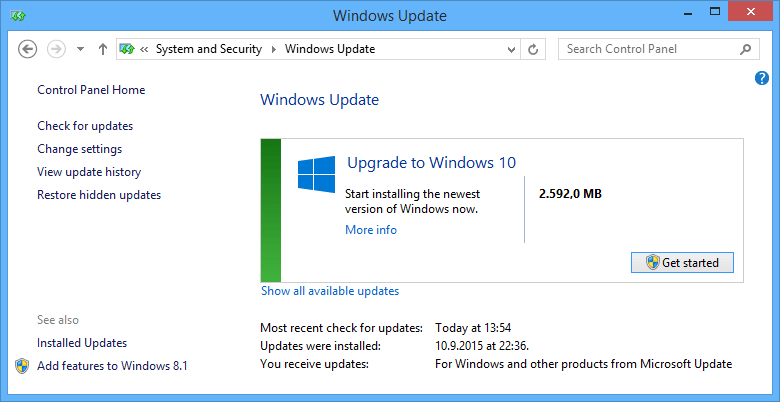
The free Windows 10 upgrade from Window 8.1 was listed in the optional updates panel.
Windows users can notice that I'm upgrading my computer's operating system to Windows 10 Pro. This is because I was running Windows 81. Pro edition.
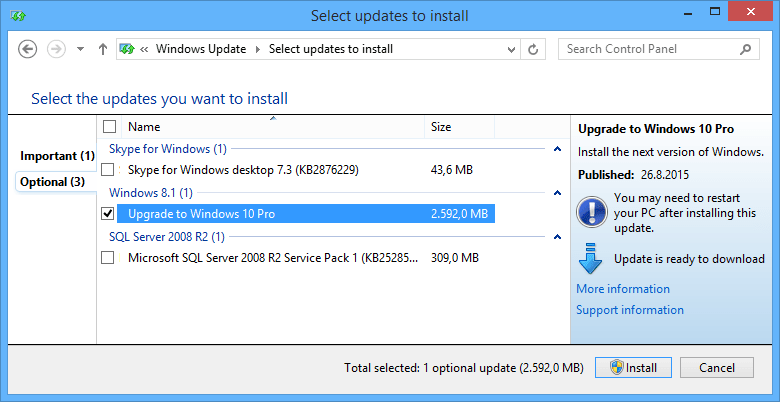
I chosed only the Windows 10 Upgrade and press Install button to start upgrade process.
As you can easily notice the download size for the optional update (upgrading to Windows 10 Pro) for my 64-bit Windows 8 OS is about 2.6 GB (2592 MB)
Windows Update starts downloading Windows 10 Pro X64 upgrade immediately
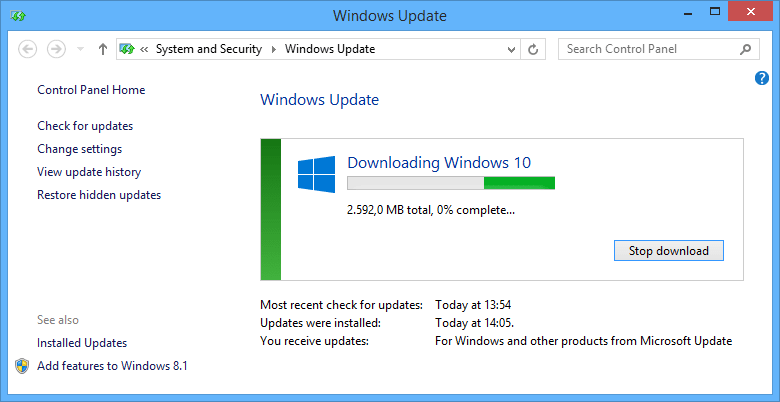
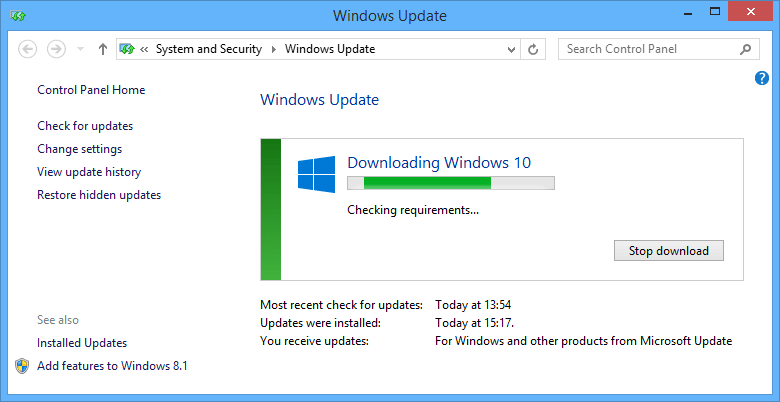
Windows Update is checking requirements for Windows 10 upgrade
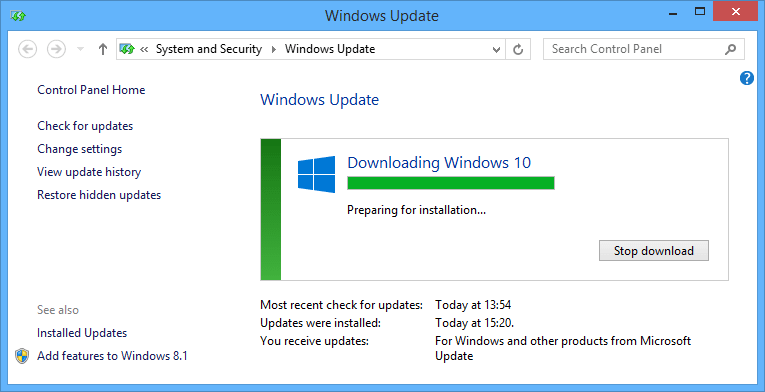
Windows Update is preparing installation of Windows 10 free upgrade
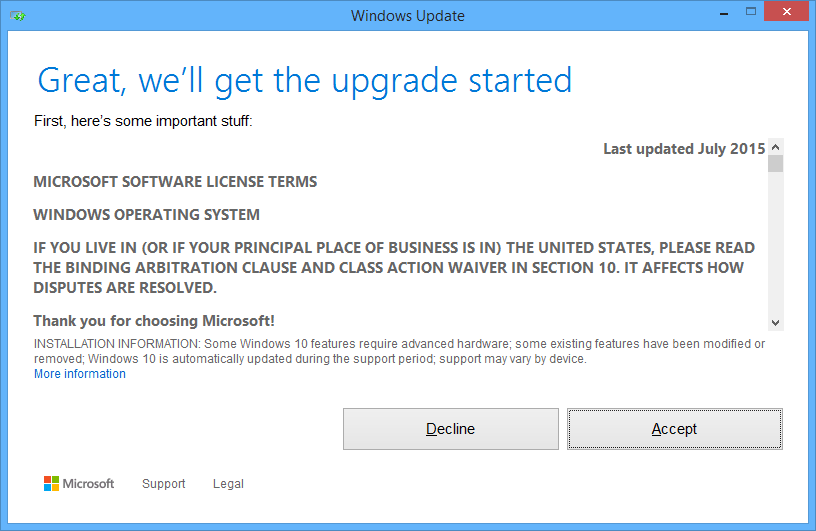
When the Windows 10 setup or free upgrade to Windows 10 wizard starts, on first step you are required to read and accept the license terms.
Press "Accept" button to continue.
Now Windows 10 upgrade is ready to install. You can either start the Windows 10 upgrade immediately or schedule the upgrade installation to a later time.
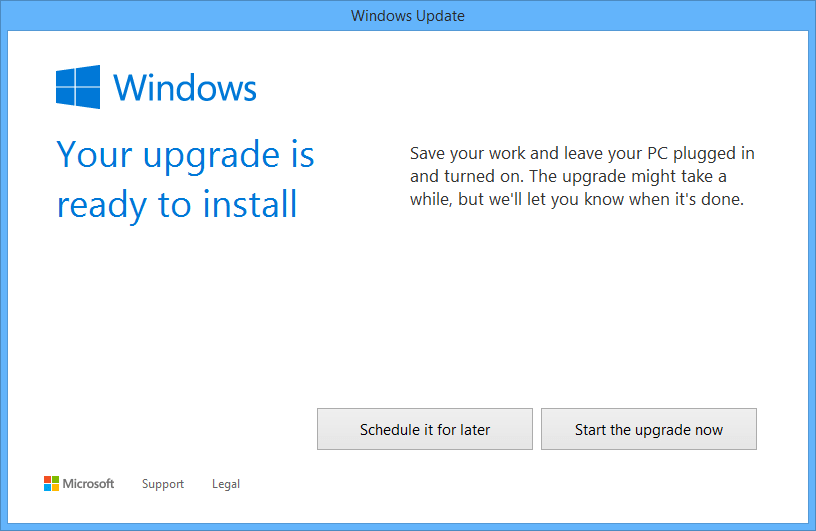
I chosed to install the Windows 10 Pro immediately
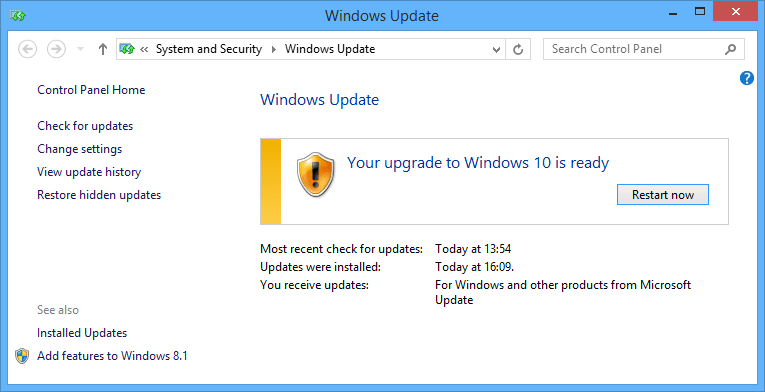
Press on "Restart now" to continue with free Windows 10 upgrade process
When your Windows 8 PC restarts the upgrade setup takes place.
When the first user interaction is required, you are expected to provide a valid user authorization defined on your previous Windows 8.1 operating system
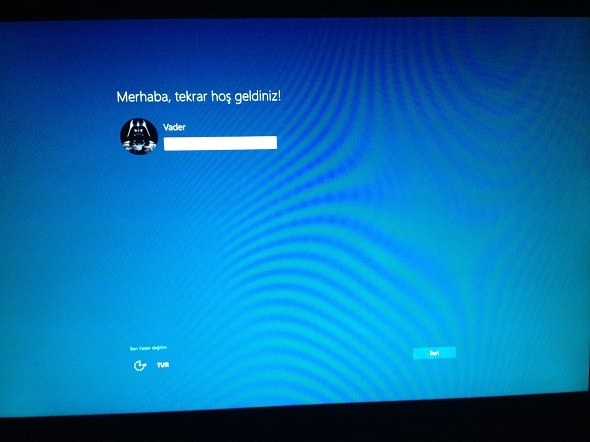
Sorry for the following screenshots since they are in Turkish. But I'll try to translate important sections of the screen text.
After you provide a valid user account, you are able to free upgrade to Windows 10 in two ways.
First and recommended method from Microsoft Windows 10 setup is "Express Install".
The second method is to customize the settings for upgrade process.
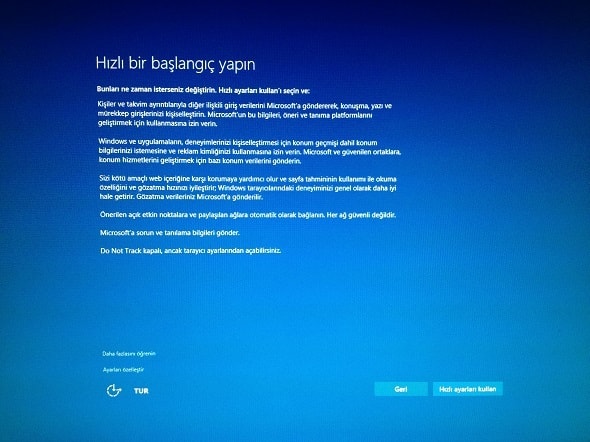
I never used Express Settings for a setup process. And you should also not!
With the final release of Windows 10, a big discussion is being made about the privacy of Windows users.
Unfortunately, the main reason of these discussions is the express installation configuration.
Let's continue our free Windows 10 upgrade process with customized settings and try to understand what does Express setup means.
Next screen provides a list of customizable settings. I prefer to turn them off. You can later enable those settings if you require them.
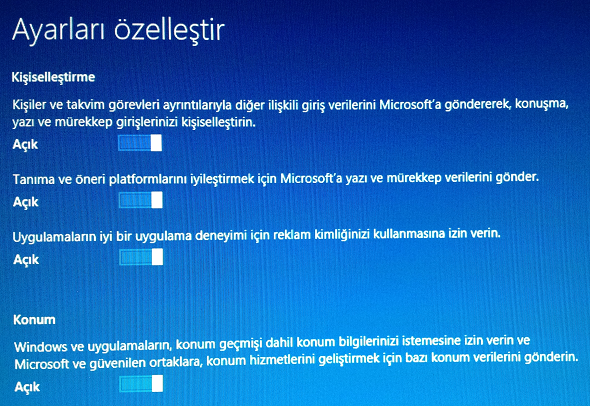
First option indicates that you share your personal calendar tasks, contacts, and other related information with Microsoft to personalize your Microsoft services.
Second setting is again sharing text and ink data to Microsoft to make recognition and suggestion services better
Third option which you can turn off is the advertisement identity of you. Microsoft requests you to accept sharing your AdsID to make apps provide you a better experience.
The last option you can turn on this screen is the location services. You can disable location services at this step, and if you require you can enable it easily.
Let's not continue with following screen.
This configuration screen enables you to customize Internet browser settings
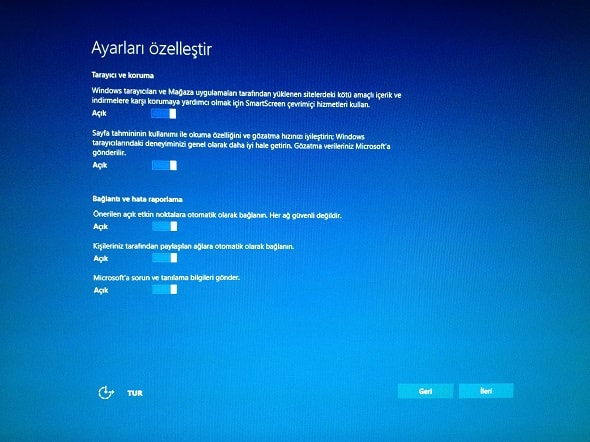
First option is for enabling SmartScreen to protect you from possible attacks. You can keep it turned on for your safety during surfing on the web online.
You can turn off the second configuration, because it enables Windows 10 to send your browsing history to Microsoft to make your browsing experience better in time.
Third option is connecting to networks. It is better to turn it off. It is safer and best practise to choose the network yourself that your Windows 10 PC will connect.
Second network connection options is related with automatic connecting to networks shared by your contacts.
The last option on the page enables problems and detected error data to Microsoft. I'ld set it off as well.
Continue to next screen.
The next configuration screen gives information about the new apps coming with new Windows 10. Windows 10 users can also change the default apps for media files like music, video and movie files, photos and images, etc. Besides these media files, Microsoft Edge is first seen on this page. It is the new Web browser of Microsoft. You can also define default apps that are related with Microsoft Edge browser here.
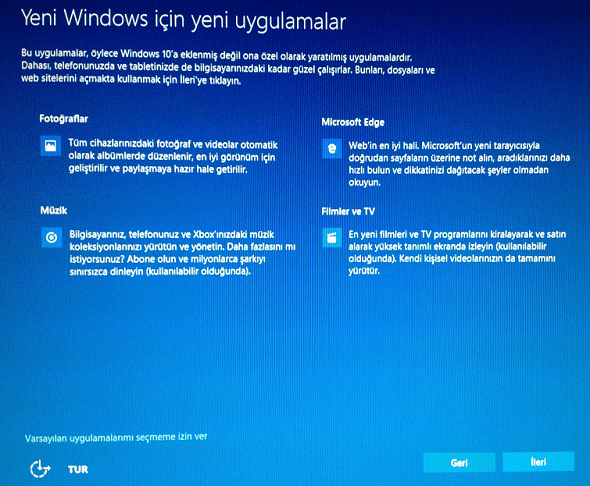
I actually did not change anything on this page regarding with default apps on Windows 10. When you start using Windows 10 and get the experience of new apps, then you can decide to change the default app or continue with suggested apps.
After all these settings are completed, Windows 10 upgrade setup will finalize the configuration of your new Windows 10 PC
