Create Windows User and Allow for Remote Desktop Access
In this Windows tutorial, I will show how Windows administrators can create a local Windows user account and allow user account to access Windows PC remotely using Remote Desktop Connection. This is a two step task for Windows admins; creating Windows user and granting remote access permission to the user on that Windows server.
Let's now log on to your Windows server with your administrative account.
After you logon, open Windows Administrative Tools list
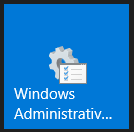
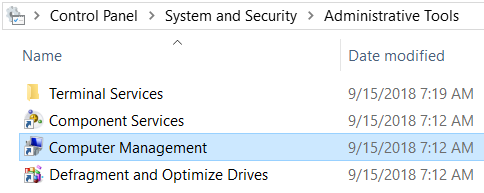
And then launch Computer Management application from the short-cut list.
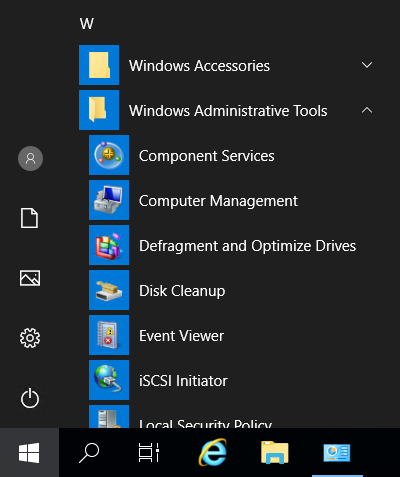
You can launch Computer Management in Windows Start Menu under Windows Administative Tools application group, too.
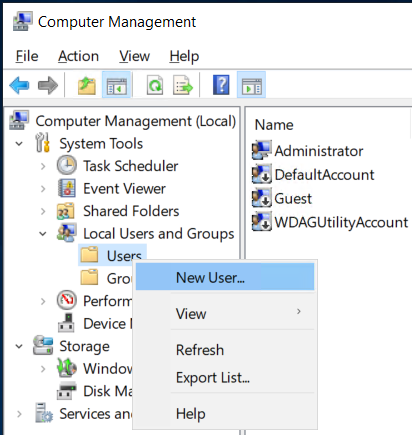
Under System Tools, drill down node Local Users and Groups
Right click on "Users" node and choose option New User... to create our local Windows account.
Type the user name and provide the initial password of the user on this screen.
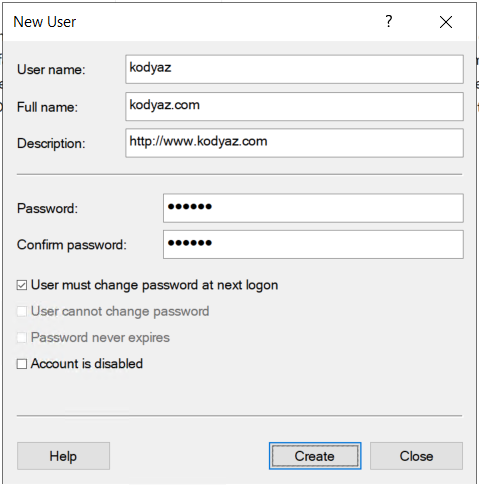
When the Windows administrator presses the Create button, the local Windows user is created.
Close screen to exit from this management screen.
We have now completed the first step of the task.
If the second step is not completed but a remote desktop connection is tried to be established using the new local Windows user account, following error will occur.
Remote Desktop Connection
The connection was denied because the user account is not authorized for remote login.

The second step is allowing remote access to new local Windows account to your server.
Start typing "Allow remote access to your computer" in Windows search textbox and when you see below application in the list, click to launch the too.

When the System Properties screen is displayed, switch to "Remote" tab.
Make sure that in "Remote Desktop" section, "Allow remote connections to this computer" option is selected.
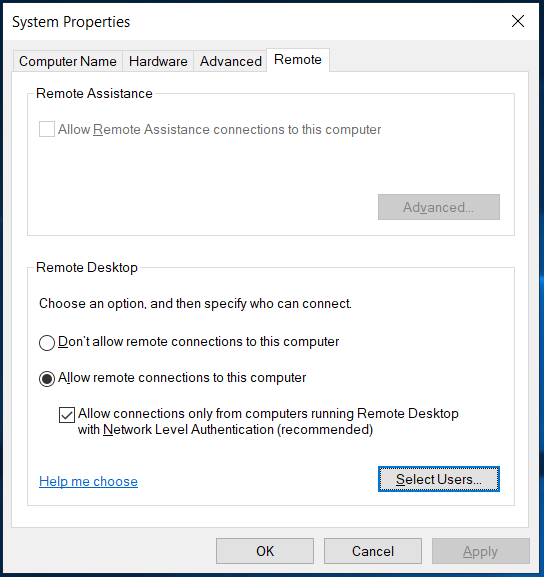
By pressing "Select users..." button we will be able to display current Windows users that are granted with remote desktop connection permission for this server. We can also add new Windows users and enable them to remotely access to the computer using Windows Remote Desktop application. It is also possible to revoke or remove remote access permission on this screen.
When the Remote Desktop Users screen is displayed, it is empty by default.
Although administrators on this computer are not listed here, they have remote desktop connection permission by default.
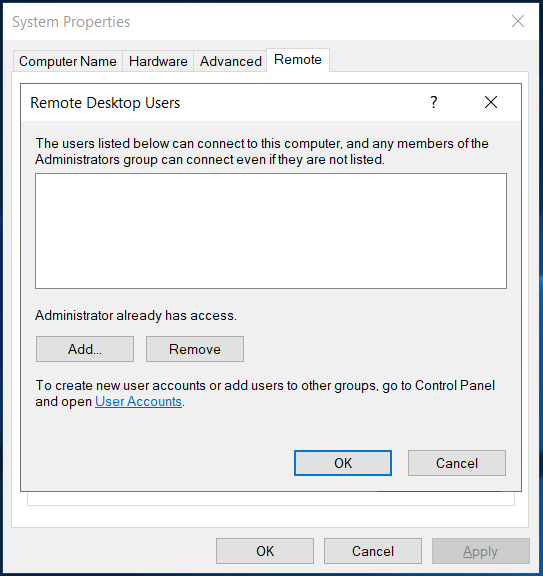
Let's not add our new local Windows user in this list of Remote Desktop Users by using "Add..." button.
When "Select Users" search screen is displayed, you can type the name of the local Windows account in object names textarea
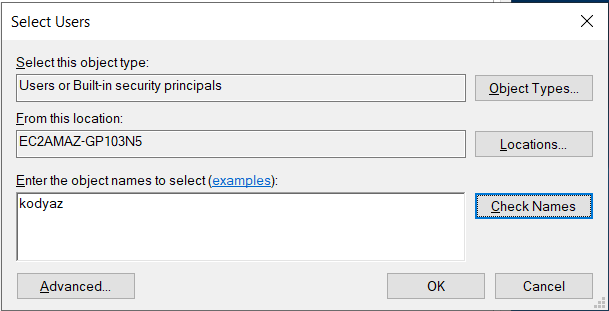
And then press "Check Names" button. If the local user is found, click OK button. If the user is not displayed, you can switch to "Advanced" search mode to find your Windows user.
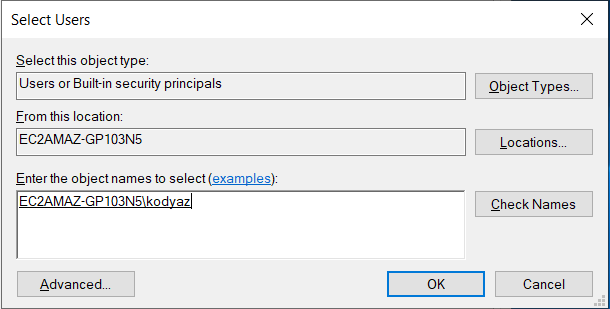
Click "OK" to add the Windows user to the list of users who has remote access to the server.
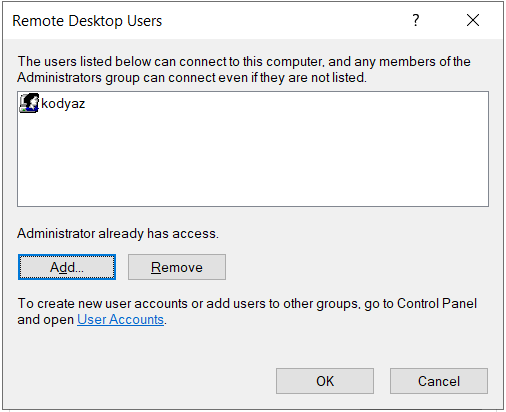
And then click OK to close System Properties tool.
After this step using local Windows account, you can access to this server remotely using Remote Desktop Application aka RDP.
