Change User Account Picture on Windows 10
One of the first customization on Windows 10 by Win10 users is to set or change user account picture. As a new Windows 10 user, I first change user account picture, desktop background, etc to make Win10 new OS feel warmer. This Windows 10 guide shows the basic steps how to change user account picture on a new Windows 10 installation.
If you are a Windows 8 user, you can change your Windows 8 user account picture as summarized in How to Change Windows 8 User Account Picture
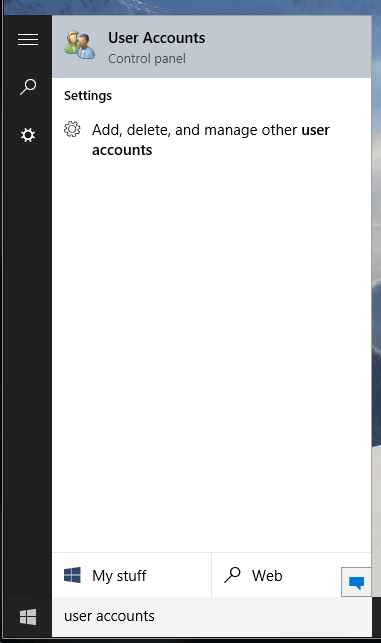
An easy method to reach User Accounts from Control Panel is directly typing "user accounts" in Windows 10 search box.
While you type on search box, Windows 10 will display found results including applications and documents, etc as seen on below Windows 10 screenshot.
Press on the User Accounts Control Panel item.
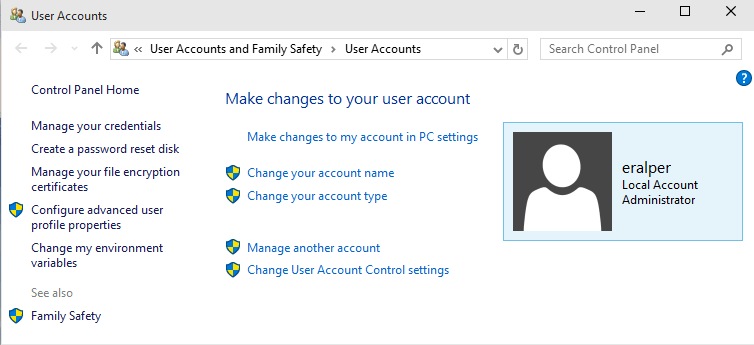
User Accounts application enables Windows 10 users to customize their user settings including changing account name, account type, change account picture, etc if they have required permission.
Windows 10 administrators can also manage other users' account settings and customize them too.
Press on "Make changes on to my account in PC settings" hyperlink command to go deeper into user account settings.
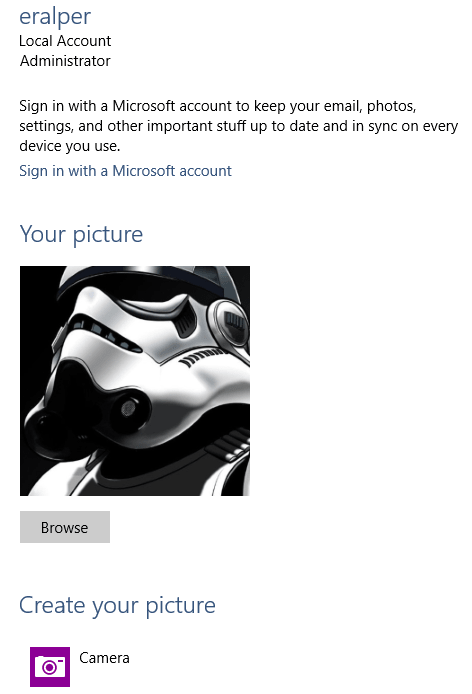
On user account settings page, the current user picture is displayed. Windows 10 user can either choose a picture from existing ones using the Browse button for File Explorer or use Camera to take a photo of own.
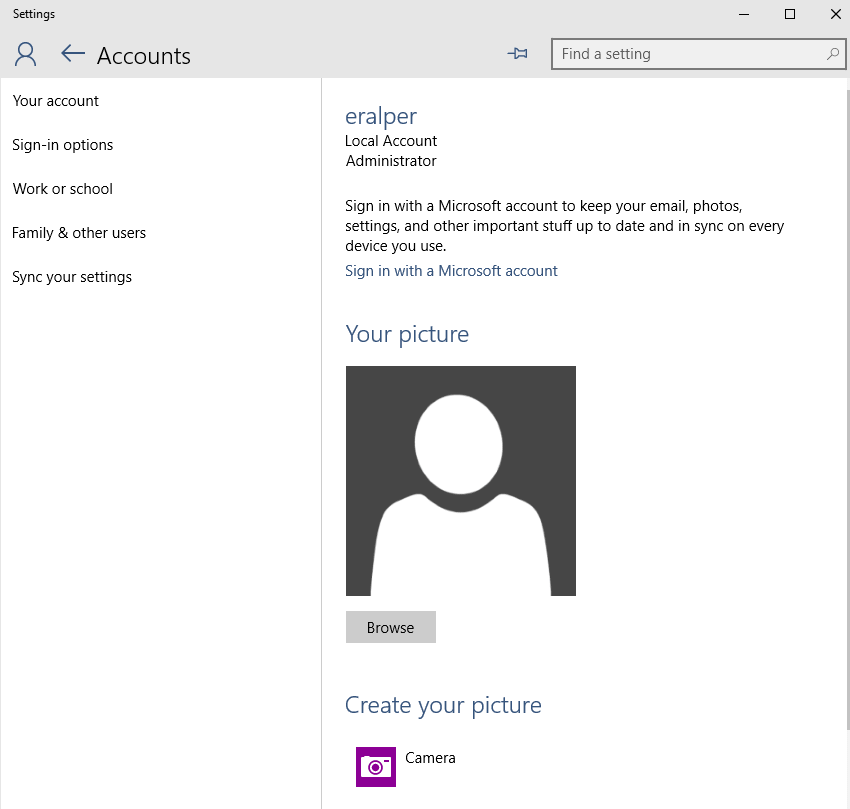
Windows 10 user can use File Explorer to browse Windows disks and network shares for desired user account picture.
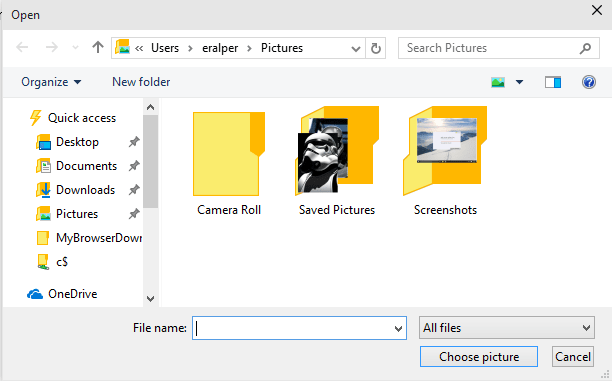
After the user account picture is selected from existing images, it will be set as user account picture and will be available on User Account settings application.
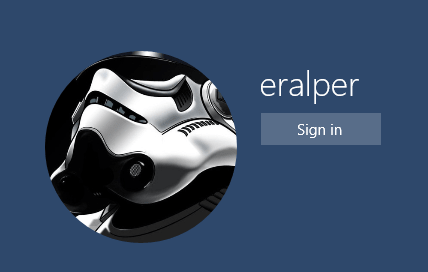
Here is how it looks on Windows 10 Lock screen after user account picture is altered.
