SAP Lumira Server for Teams Setup
This tutorial shows how to setup SAP Lumira Server for Teams, installation steps and administrator screens. SAP Lumira Server enables business intelligence reports to be deployed to a central server and managed by tasks such as giving report authorizations or permissions. Reports on SAP Lumira Server can be reached via URL and these reports can be shared using this URL among business users. These deployed reports are created from different types of data sources by using SAP Lumira Desktop Edition.
In this SAP Lumira tutorial, I will share with Business Intelligence professionals how SAP Lumira Server is installed using the screenshots I had taken during SAP Lumira Server for Teams 1.31 setup.
![]() If you did not download SAP Lumira Server for Teams, please visit referred document to learn where and how to download SAP Lumira Edge which is the name used previously for SAP Lumira Server
If you did not download SAP Lumira Server for Teams, please visit referred document to learn where and how to download SAP Lumira Edge which is the name used previously for SAP Lumira Server
SAP Lumira
Launch setup program SAPLUMIRA6431P_1-20009491.EXE which is the server setup for version Lumira 1.31.
Allow User Account Control to let installation program to make changes on the machine.
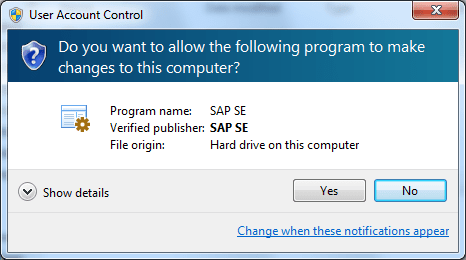
SAP Lumira
When the setup wizard is launched the first screen requests the installing user to accept the license agreement.
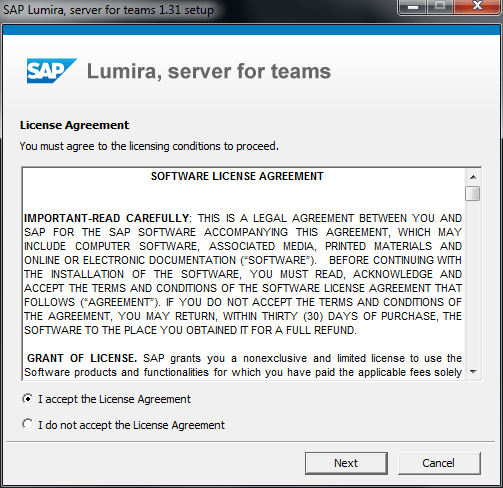
SAP Lumira Server for Teams License Agreement
The next step in Lumira Server installation is determining the destination folder on the disk for setup and administration password.
Business intelligence developer can install the Lumira Server binaries into desired file folder using the explorer.
Additionally, the Lumira Server aka Lumira Edge configures a predefined administrative user "Administrator".
The setup user can define the initial password for the Administrator user of the Business Intelligence platform SAP Lumira Server for Teams.
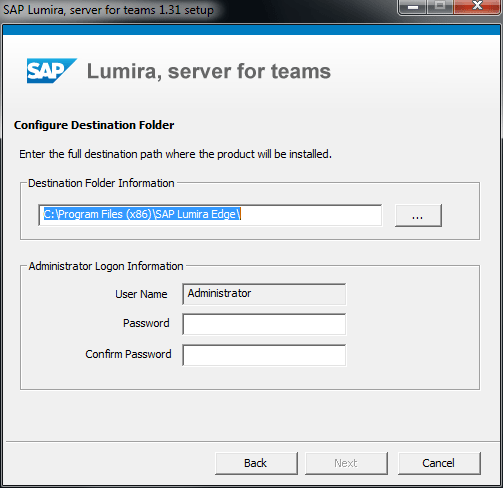
Choose installation folder for SAP Lumira Server and password for Administrator
SAP Lumira setup will install a set of packages
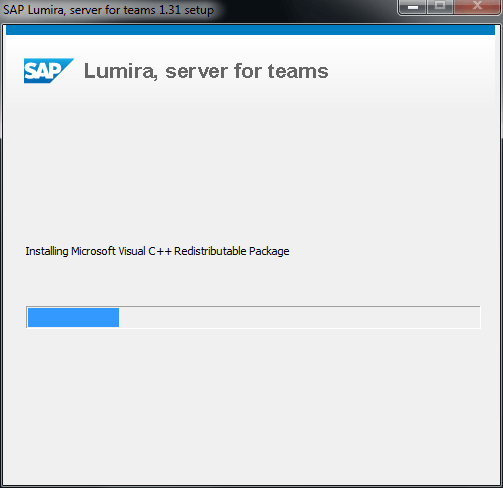
SAP Lumira Server setup process
Let Windows Firewall to allow SAP BusinessObjects Binary to communicate on networks.
I configured Windows Firewall to allow SAP Lumira Server for Teams to use domain networks like workspace networks by marking the checkbox.
Press "Allow access" button for next screen.
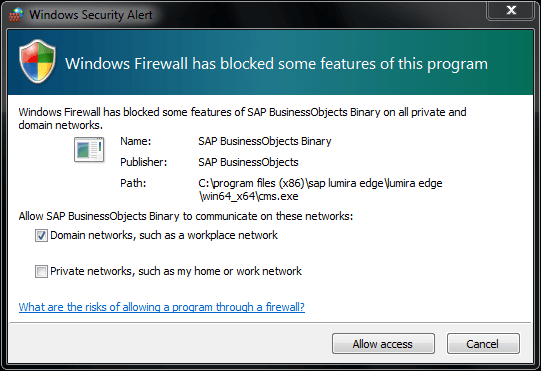
Firewall settings for SAP Lumira Server for Teams
If the setup wizard successfully completes SAP Lumira Server for Teams binaries on the server, a successfully installed message will be displayed. By pressing Finish button, the setup will be completed and the Lumira Server application will be automatically launched.
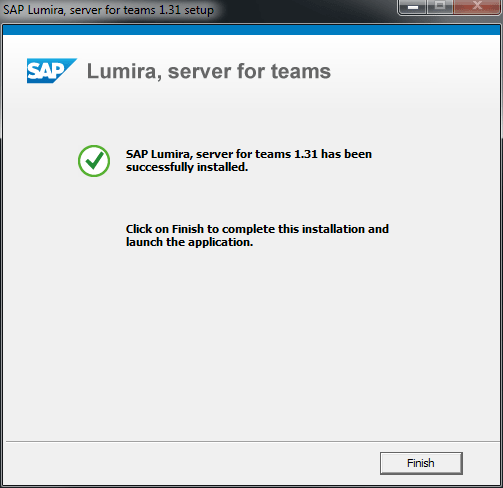
SAP Lumira Server setup
When server is started and SAP Lumira Server for Teams application is launched, first of all the Administrator user should logon to server using the password we had just defined for administrator user.
Please let the default Authentication Type unchanged as "Enterprise"
Other options are Windows AD and SAP logons which we will talk later.
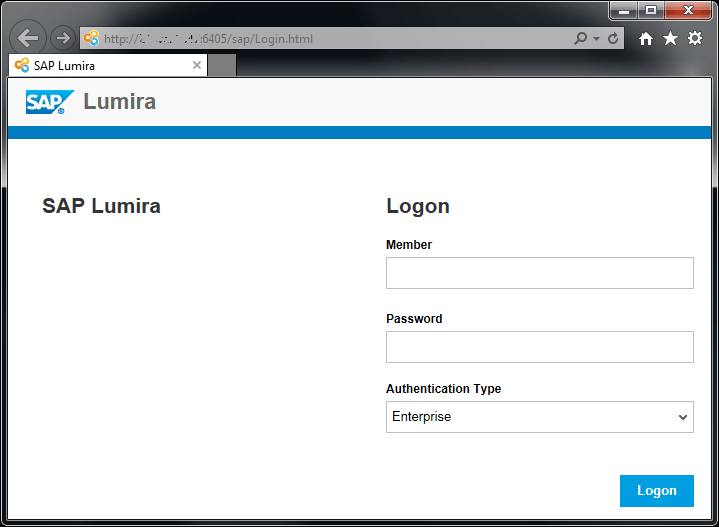
SAP Lumira Server for Teams logon for the first time with Administrator user
After log on to SAP Lumira Server for the first time, the Administrator can see a navigation menu on the left.
This menu contains report folders "Shared with me", "Shared by me" and "All"
For example on All folder there are sample SAP Lumira reports shipped with setup program.
Other menu items are Administration, Members and Groups (used for authentication of members or users to SAP Lumira server)
Sessions and Licenses, Maintenance and Configuration.
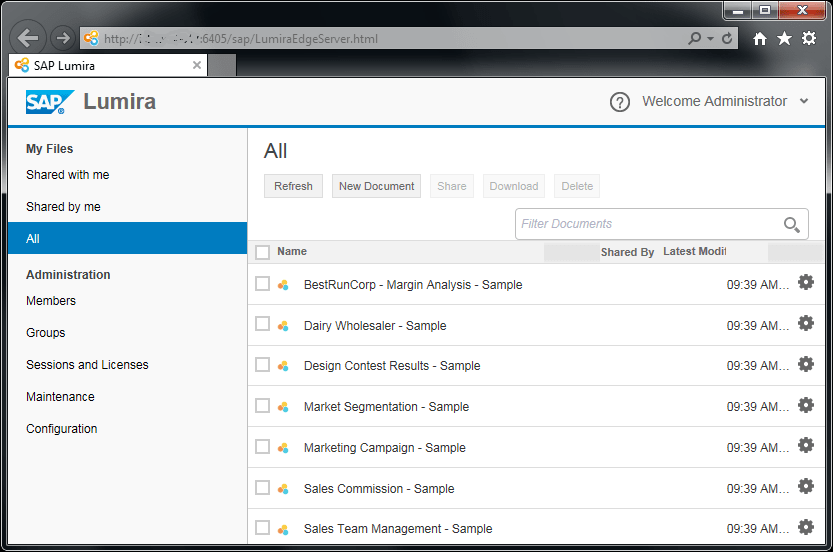
Sample deployed Lumira reports on SAP Lumira Server for Teams
