Connect Denodo from SAP Business Objects Information Design Tool
In this tutorial, I want to show how to install Denodo ODBC driver and configure DNS data source and connect Denodo server from SAP Business Objects Information Design Tool. SAP Business Objects developers can create a new connection, define database connections to different data sources including Denodo servers and build queries using SQL. This document can be considered as a step by step guide for installing Denodo ODBC data source and creating generic ODBC relational database connection to Denodo for SAP Business Objects users.
Denodo Platform ODBC Driver
If you have installed Denodo Platform 7 or Denodo Platform 8 on a server, Denodo JDBC and ODBC drivers can be found on "\DenodoHome\\tools\client-drivers" folder.
For example, I have installed Denodo on Windows folder C:\Denodo\DenodoPlatform8.0\, so the ODBC and JDBC drivers can be found at sub-folders seen below.

In our case we will copy the Denodo ODBC driver setup files and install it on SAP Business Objects server.

Since I want to install the Denodo ODBC driver on a Windows server, I will copy denodo-vdp-odbcdriver-windows.zip file to SAP BO server.
After you move the file BO server, extract the denodo-vdp-odbcdriver-windows.zip file.
Under "msi" folder, you will see DenodoODBC_x64.msi and DenodoODBC_x86.msi installation files.
For SAP Business Objects Information Design Tool, we will install 32-bit ODBC driver using DenodoODBC_x86.msi setup file.
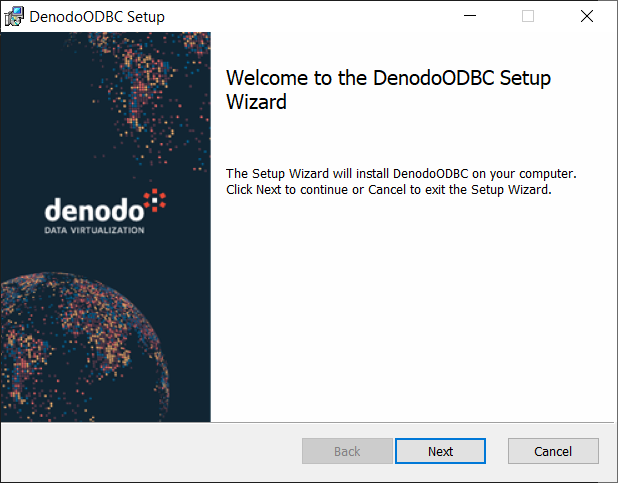
Accept the license agreement
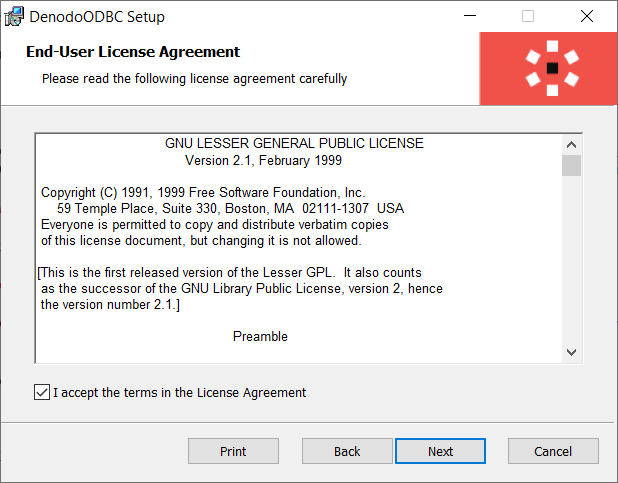
Continue setup with default installation path
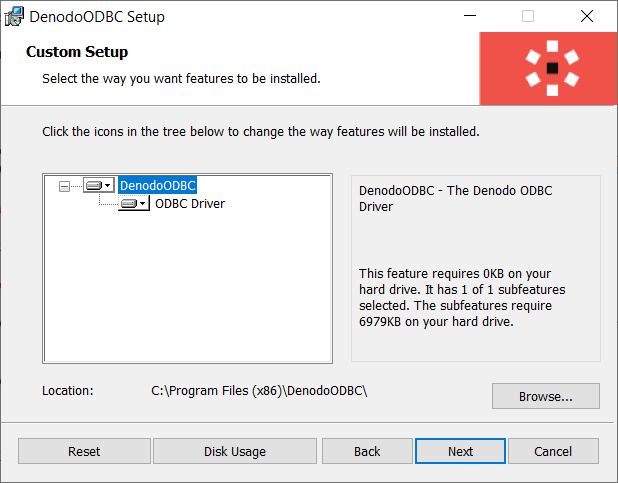
And start installation
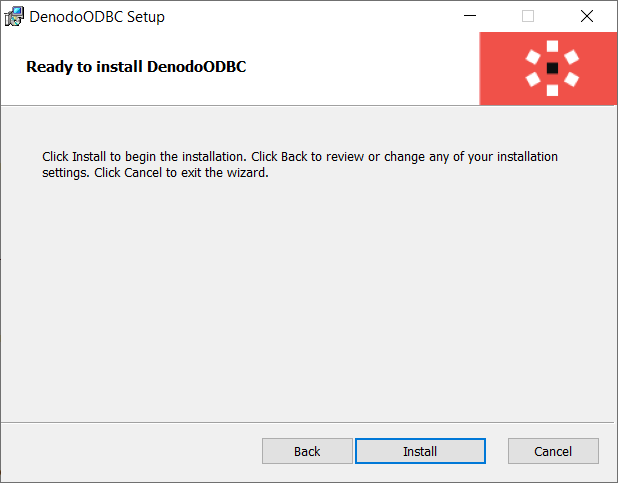
Within seconds, Denodo ODBC driver setup will be completed
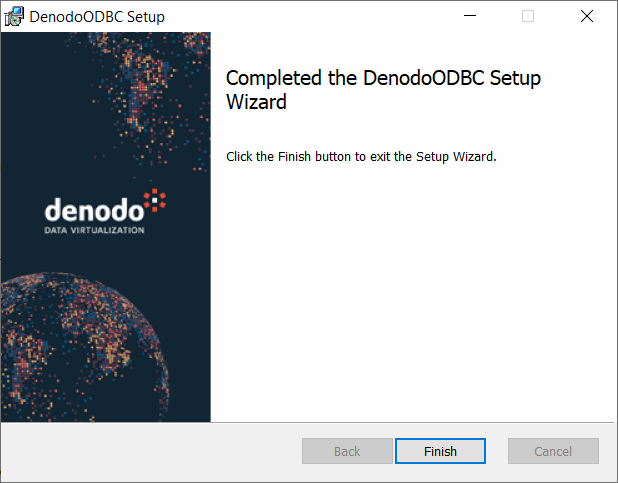
Create 32-bit ODBC Data Source using Denodo Driver
In this section of our guide, we will create a System DSN using Denodo ODBC driver at 32-bit ODBC Data Source Administrator system tool.
Launch 32-bit ODBC Data Sources Administrator application using an Administrator account.
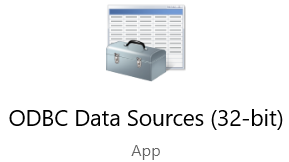
Then switch to SystemDSN tab
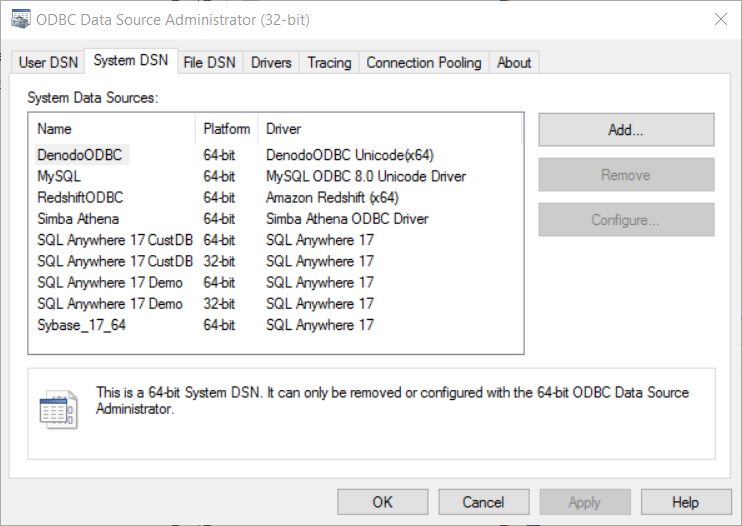
Click Add to define a new system DSN
Select DenodoODBC ANSI driver which is 32-bit for our new system DSN
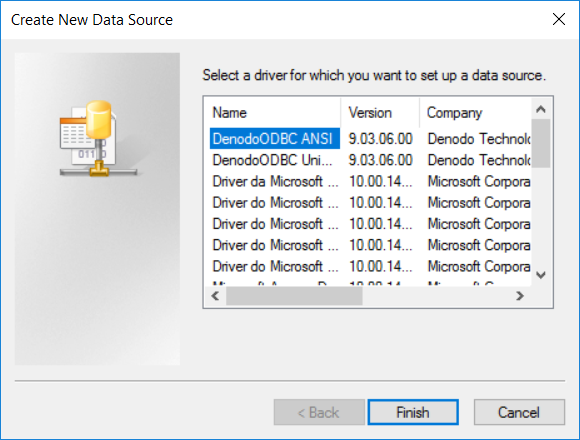
Enter following details:
Description: A descriptive name for the Denodo ODBC data source
Database: Target Denodo database name that you aim to connect
Server: Target Denodo server IP address or DNS name
Port: Default port for ODBC connection is 9996
User Name: A valid Denodo user name
Password: To verify the connection user, the password of Denodo user
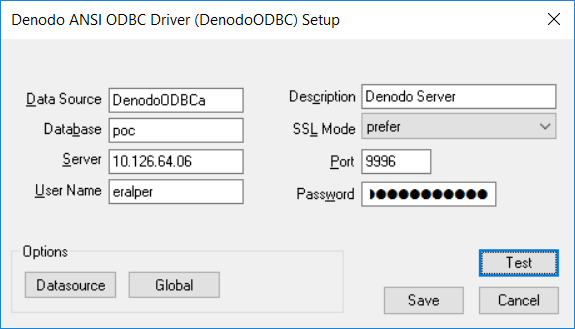
Click Test button to see if the system DSN record for the Denodo connection is valid or not
You should be able to see the success message indicating that the connection is established successfully
Click OK button and Save the configuration. Then exit from the ODBC Data Sources Administrator app.
Connect SAP Business Objects to Denodo Server
Now we are ready to work on SAP Business Objects Information Design Tool. Launch the software.
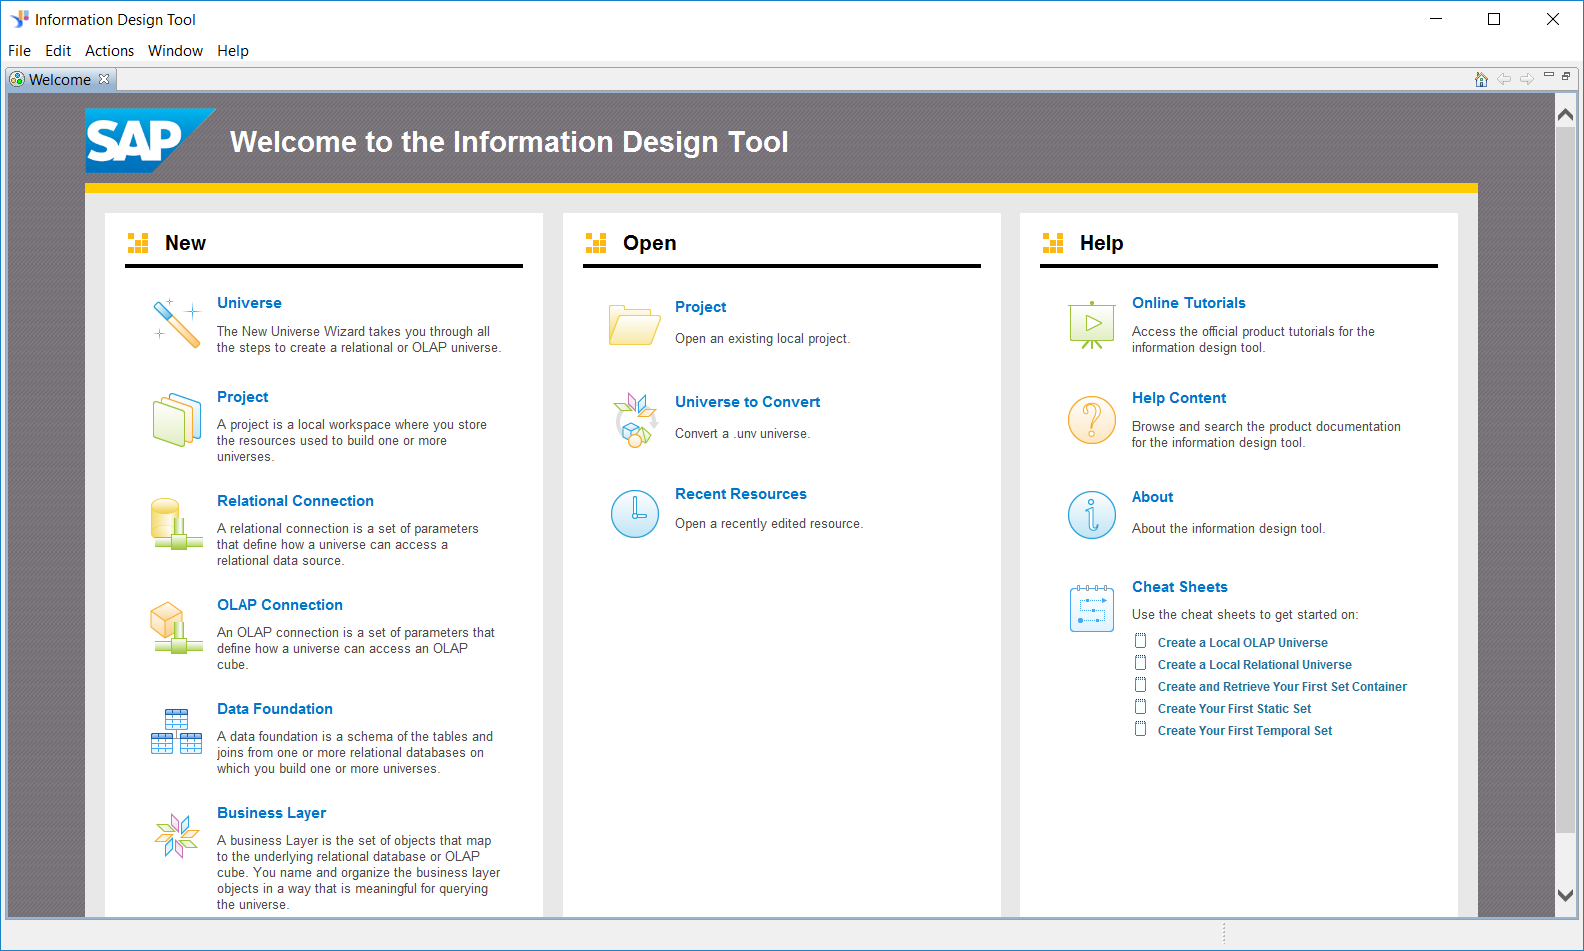
When the initial screen is displayed, first create a new project.
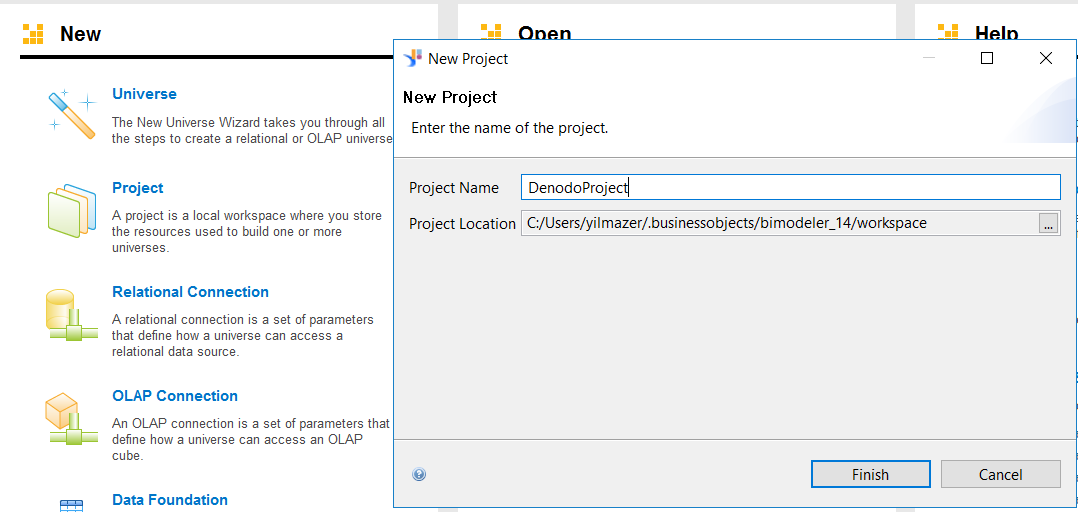
Enter the name of the project and select the project folder path. And click Finish
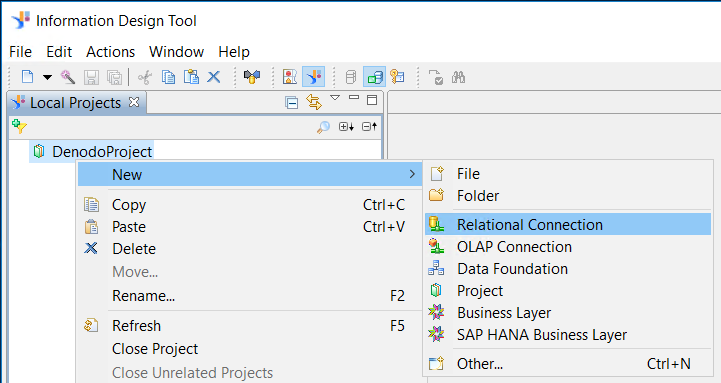
When the project is displayed in Local Projects window, right click on the project name and using context menu, follow options: New > Relational Connection
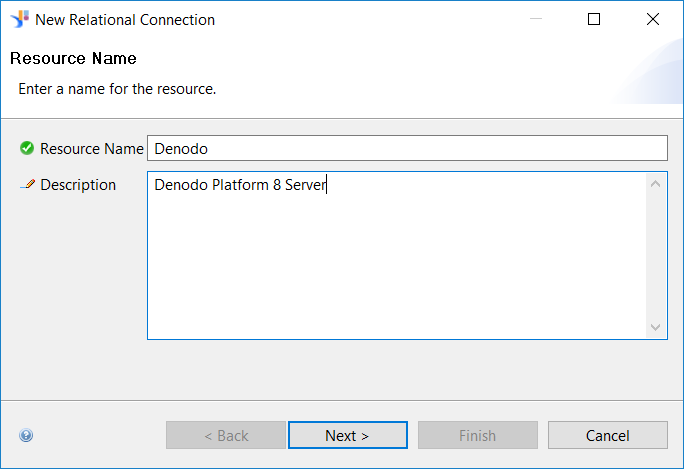
Provide a short descriptive name to your new relational connection and a description
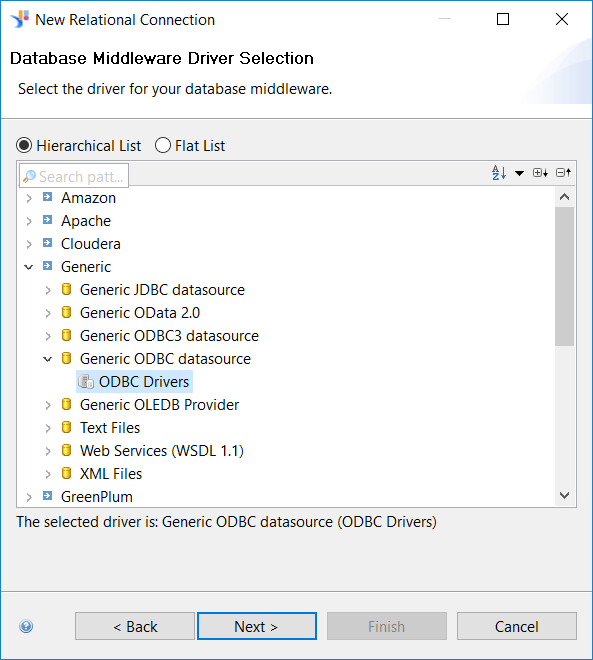
On next screen, you will be requested to select the database driver for the new relational connection on SAP Information Design Tool
On Hierarchical List, drill-down the Generic option.
Since we have installed the Denodo ODBC driver manually, it is not listed as a separate item just like Amazon Redshift of Greenplum ODBC drivers.
You can see Generic ODBC datasource and ODBC Drivers.
Select and click Next for upcoming screen.
On next screen, we are expected to select the Data Source Name and required authentication mode and credentials.
Following screen shows that I have already selected the System DSN I have created for Denodo server connection using 32-bit Denodo ODBC driver. In addition to that I have provided a valid user credentials that can be successfully connect to Denodo.
When I click "Test Connection" button, I got the "Test Successful" message and in detail I can also see the Business Objects details like version, etc.
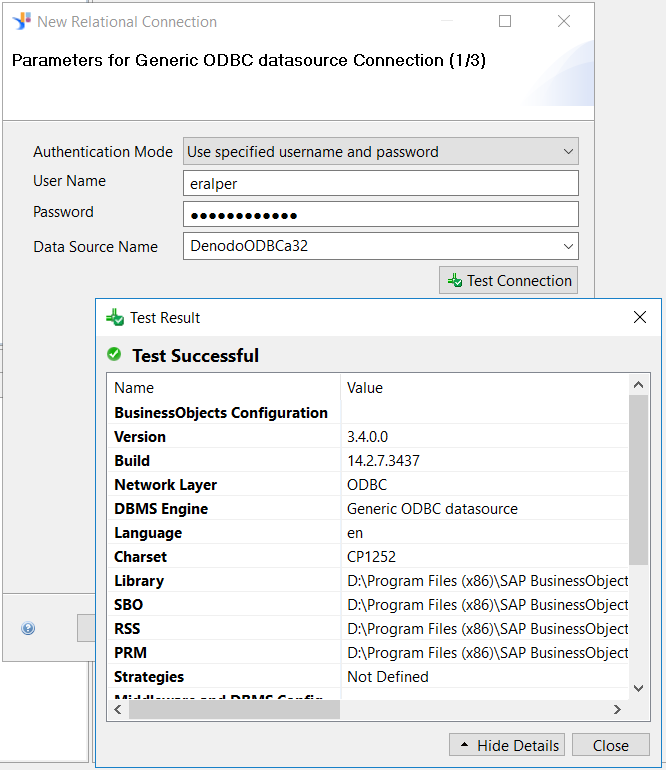
Click Close and Finish buttons respectively.
Below screen shows that within the sample BO project the Denodo.cnx Denodo connection is displayed.
And the Denodo catalog is displayed including its databases and tables under each database.
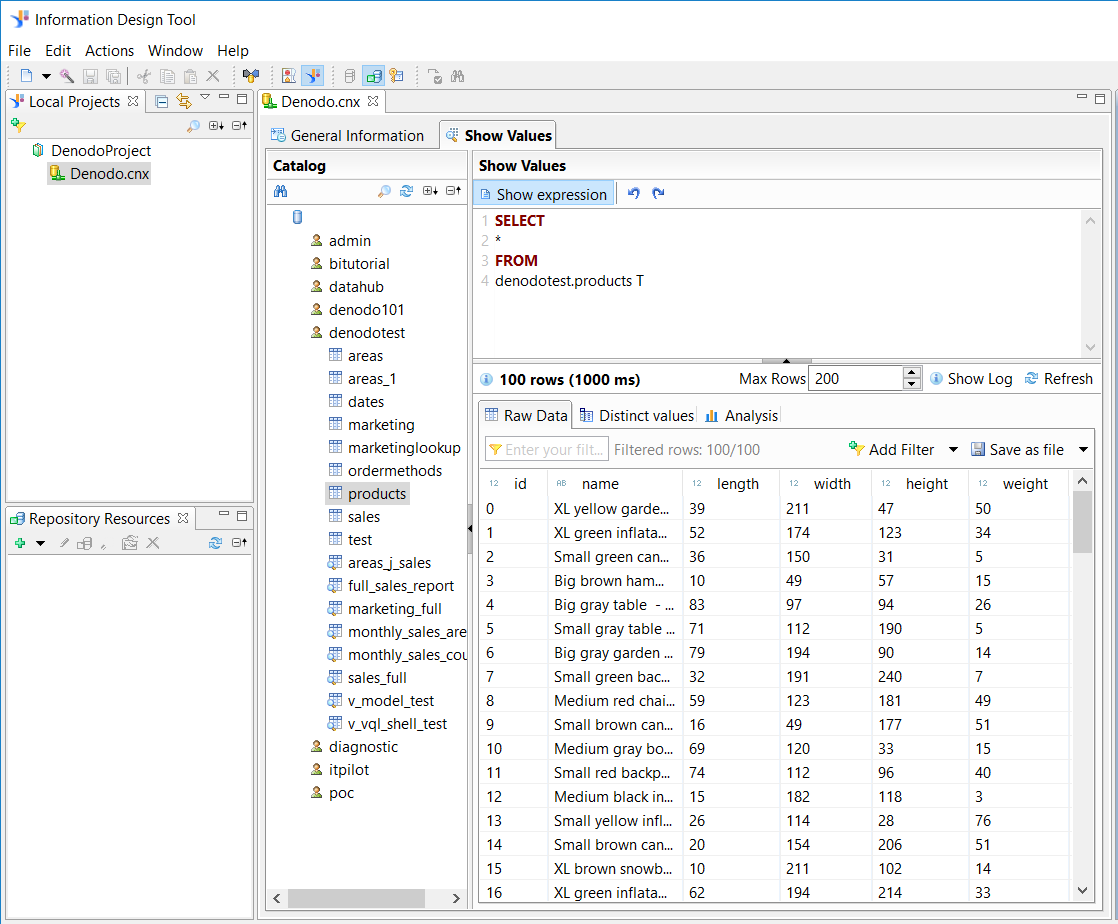
I also displayed sample rows using SQL SELECT query from a Denodo table to test connection with data results.
To summarize, in this Denodo and SAP Business Objects guide, I tried to show how to connect Denodo Data Virtualization Platform software or create a relational connection to Denodo Server within BO Information Design Tool using Denodo ODBC drivers. I hope SAP Business Objects developers will find this tutorial useful.
