Install Visual Studio 2012 Ultimate
This Visual Studio 2012 guide shows how to install Visual Studio 2012 Ultimate edition step by step. Microsoft .NET programmers and software developers can download Visual Studio 2012 free for trial purposes and use VS2012 during evaluation period for free.

After you download Microsoft Visual Studio 2012 free setup .iso image file, you can mount .iso image it and start installing Visual Studio 2012 Ultimate trial edition directly. Of course you can write the VS2012 image file VS2012_ULT_enu.iso which is about 1.5 GB in size to a DVD and use this DVD during Visual Studio 2012 Ultimate setup. If you prefer to mount the image, you should mark the checkbox "Remount image when Windows starts up" because during Visual Studio 2012 installation, it might require to restart the computer and continue setup process.
The first screen in Visual Studio 2012 installation wizard informs the setup user about the disk requirement (8.64 GB) and the setup folder. Although setup wizard offers "C:\Program Files(x86)\Microsoft Visual Studio 11.0" by default, programmers can change the setup folder using the folder browser button displayed on the right side of the folder path.
In order to continue with Visual Studio 2012 installation process, setup user must mark the checkbox indicating that he or she agrees to the Licence terms and conditions. If you want to read the License Terms document, please click on the blue link and then mark the related checkbox for the next step to install Visual Studio 2012 Ultimate edition.
Just as in other professional products, Microsoft is rolling a Customer Experience Improvement Program for Visual Studio too. You can read details about Customer Experience Improvement Program at given reference site. Setup users join this program to help Microsoft to improve the quality, reliability and performance of Visual Studio by marking the related checkbox shown in below screenshot.
After you mark the checkbox indicating that you agree with License Terms and conditions, the Next button is activated. You can continue Visual Studio installation by pressing the Next button
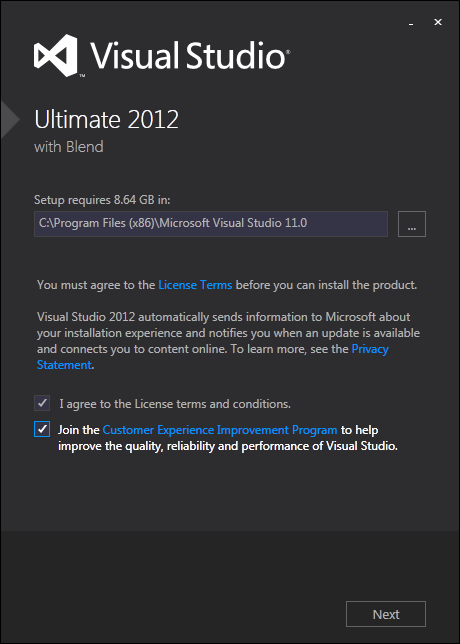
You can read Privacy Statement following the referred Microsoft URL address.
Next screen in setup wizard enables selection among optional features to install with Microsoft Visual Studio 2012 Ultimate edition.
If you select none of the optional features the setup disk requirement for Visual Studio is 6.11 GB
If you prefer to install Visual Studio 2012 with all optional features the disk requirement is about 8.64 GB
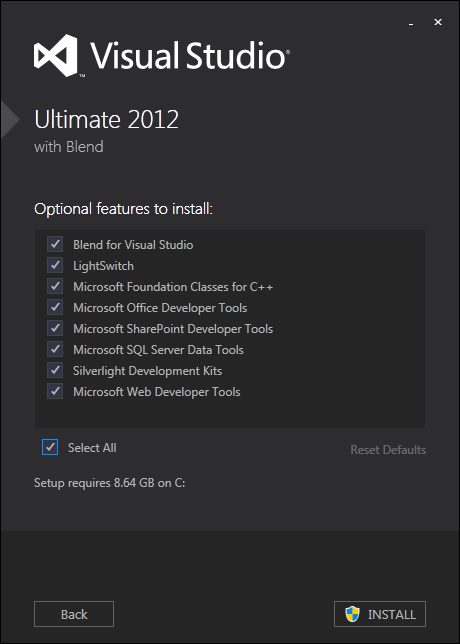
These optional features beside Visual Studio trial edition can be listed as follows:
Blend for Visual Studio 6.19 GB
LightSwitch 6.80 GB
Microsoft Foundation Classes for C++ 7.51 GB
Microsoft Office Developer Tools 6.18 GB
Microsoft SharePoint Developer Tools 6.12 GB
Microsoft SQL Server Data Tools 6.36 GB
Silverlight Development Kits 6.60 GB
Microsoft Web Developer Tools 6.69 GB
After optional features selection is completed, by pressing Install button Visual Studio 2012 installation begins.
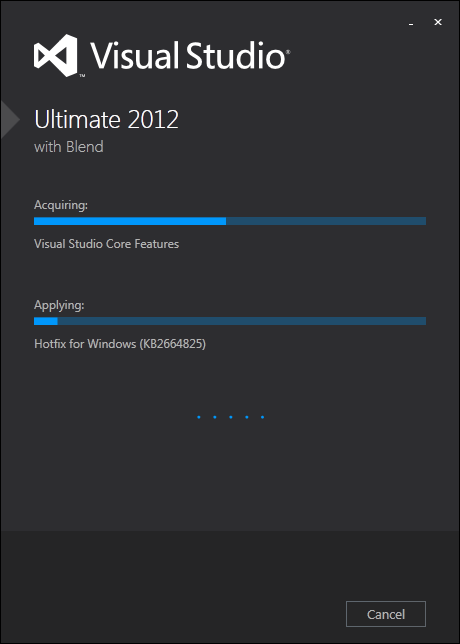
During installation of Visual Studio, the setup process might require restart of installation computer to complete setup
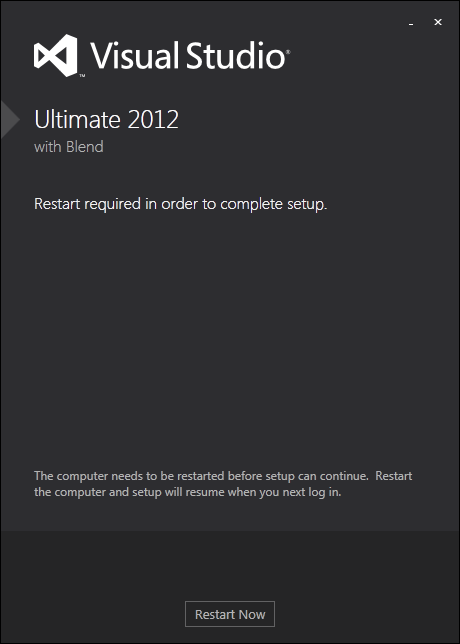
After restart of your PC, setup wizard will continue Visual Studio 2012 installation process. You can trace the setup progress on the icon displayed on Windows 7 taskbar as seen below just as copying a file from one folder to an other or downloading a file from internet.

When Visual Studio installation is completed, the following setup screen will inform the setup user about the successful installation of Visual Studio 2012 Ultimate with Blend
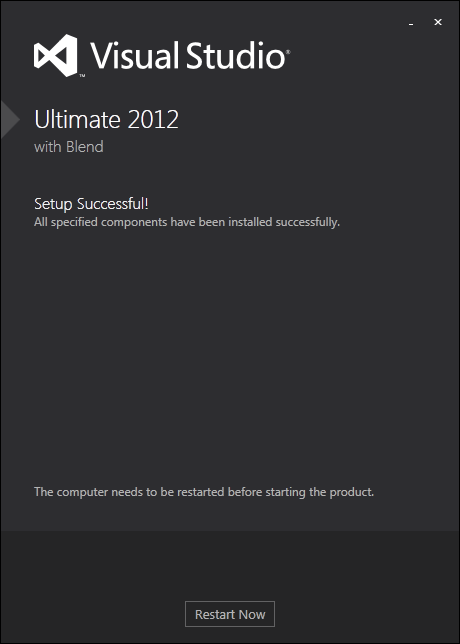
The setup wizard might request a second restart of your computer before starting and using new Visual Studio 2012. Press on Restart button to complete Visual Studio 2012 installation process. At my home desktop PC setup, a second restart was requested. But while I was installing Visual Studio 2012 on my laptop, the setup process did not request an additional reboot.
At this point Microsoft Visual Studio 2012 program group is already created on Windows Start menu with below components.
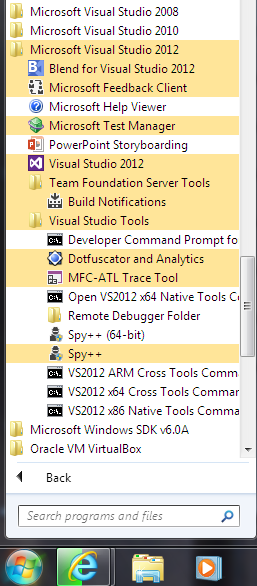
After you restart your computer and open Visual Studio 2012 Ultimate for the first time, it will request you to provide a valid Visual Studio 2012 product key. Developers can pass this screen by closing it without entering any key for trial during the evaluation period. If you have a valid Visual Studio 2012 Ultimate edition then you can enter it at this step.
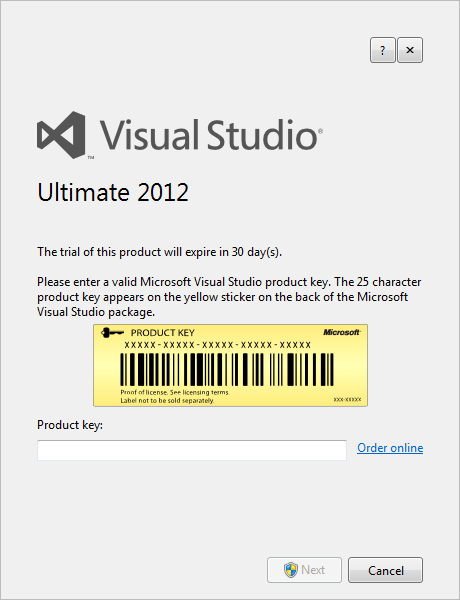
Setup users can pass this product key requesting screen by closing the screen using the close button at the top-right corner.  This option will enable Visual Studio developers to install Visual Studio 2012 Ultimate edition for evaluation purposes without registering VS2012 with a valid product key.
After Visual Studio 2012 product key is entered or passed without providing any, the next screen enables Microsoft .NET developers and programmers to customize their development environment (IDE).
They can choose their default environment settings among following options:
General Development Settings
Javascript for Windows 8 Apps
LightSwitch Development Settings
SQL Server Development Settings
Visual Basic Development Settings
Visual C# Development Settings
Visual C++ Development Settings
Visual F# Development Settings
Web Development
Web Development (Code Only)
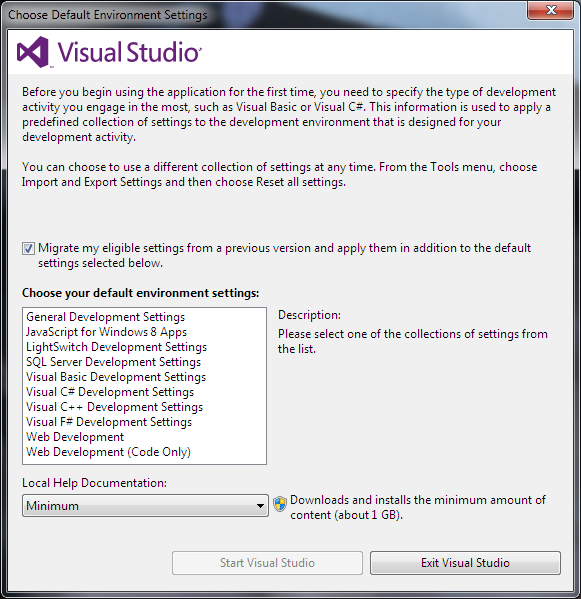
I prefer general development settings because I can work on database projects, web projects, Windows applications and now working on HTML5 development for Windows 8 apps. Before completing Visual Studio 2012 customization, developers can also decide about local help documentation for Visual Studio.

After you choose your default environment settings and local help documentation you are ready to start your new Microsoft Visual Studio Ultimate 2012 IDE (Integrated Development Environment) for the first time.
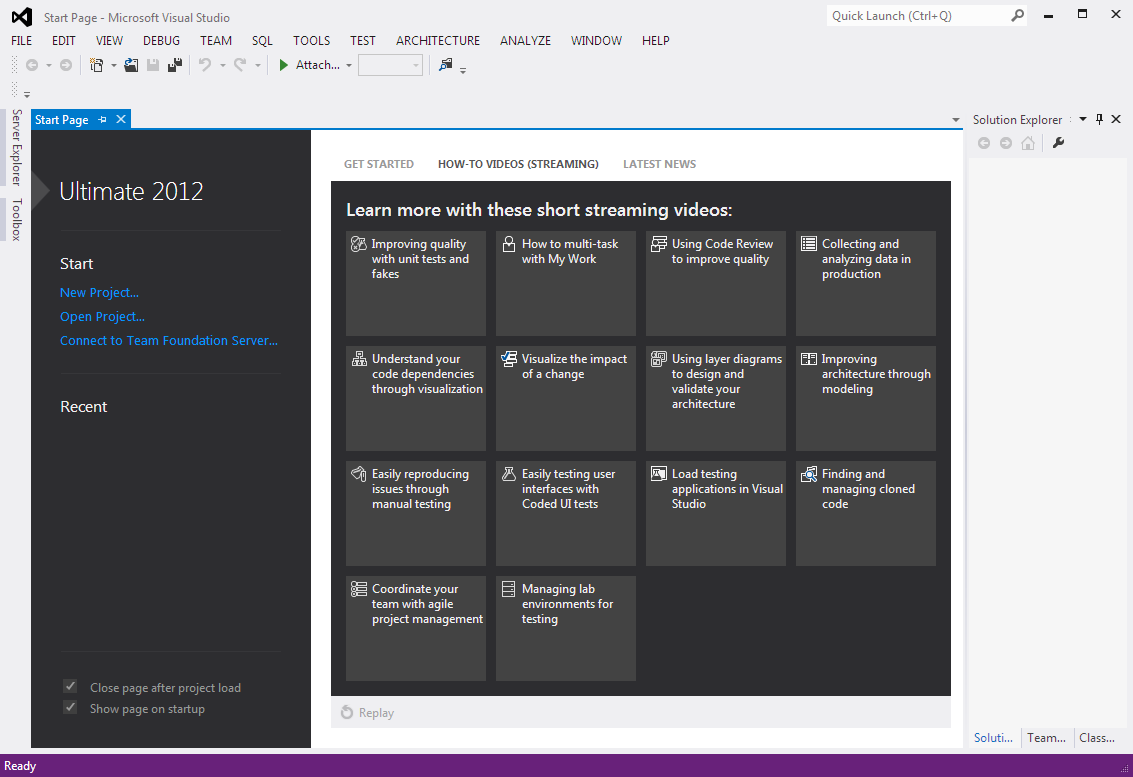
The Start page which is displayed first when Visual Studio 2012 starts contains a list of how-to videos for programmers which they can use as Visual Studio 2012 tutorials. Happy programming in your new development environment Microsoft Visual Studio 2012 Ultimate.
