Create and Deploy Denodo Business Views as REST Web Services
In this Denodo tutorial for developers, I want to show how easy it is to create and deploy a REST web service from an existing data view, either a base view or a business view created on the data model developed on Denodo data virtualization platform. REST web service creation and deployment of the web service is illustrated with a sample case step by step in this Denodo tutorial.
If you are using Denodo Platform on a cloud environment like AWS, you should enable port 9090 for on VPN connections, in security groups and Windows Firewall settings.
Launch Denodo Virtual DataPort Administration tool and connect to the database where the data view is created. You can open the view by a right-click and then click Open context menu option.
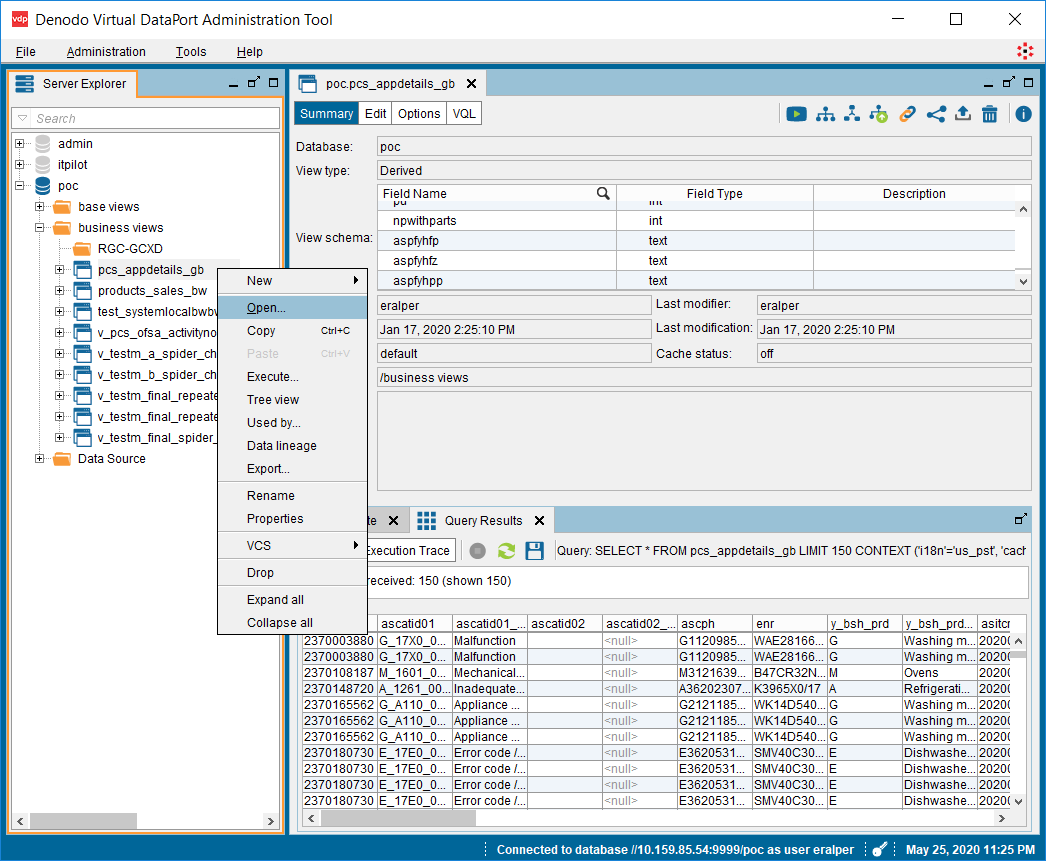
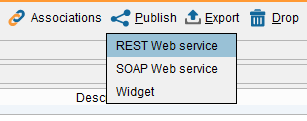
On the top right side of the view screen, developers can see a button named "Publish".
Click on Publish button and choose REST Web Service option.
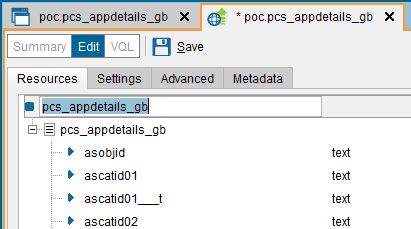
A new tab will be opened for the REST web service of the data view.
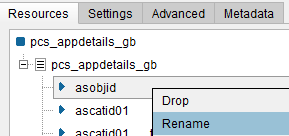
On Resources tab, view data for the web service can be organized like removing or renaming view columns for the REST service.
On the resources tab, Denodo developer can rename the REST web service which is being created by clicking on the default name and typing the desired web service name.
Using Drop menu option some columns of the view can be removed from the REST service.
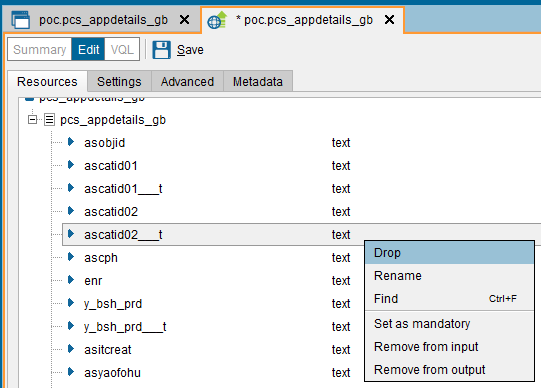
Developers can also rename view fields for the REST web service
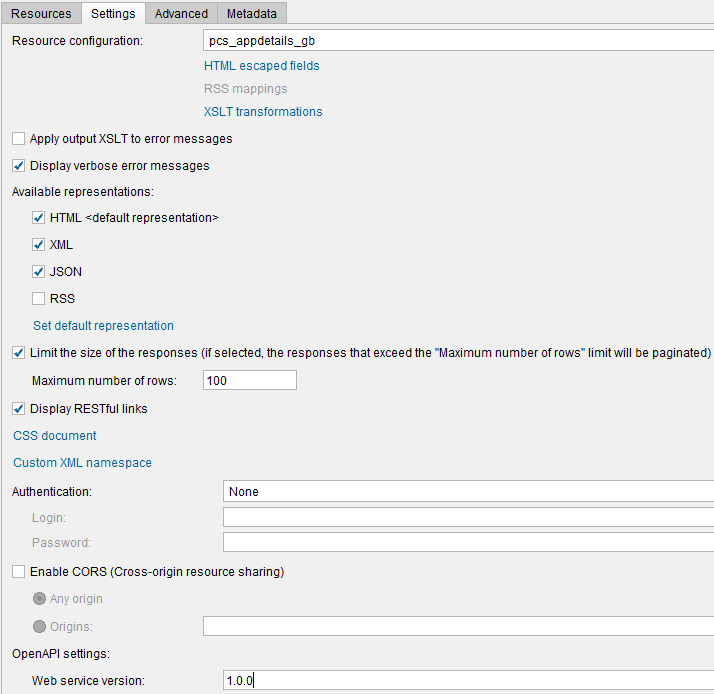
If the developer switches to Settings tab, there he or she will find configuration settings for the REST service, its output types, limiting the number of returned rows for each page by enabling pagination, authentication settings and options, etc.
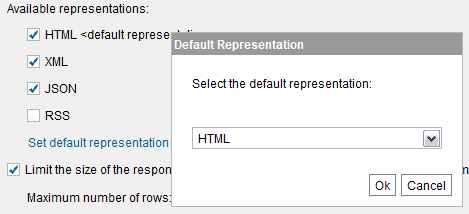
Using Set default representation the default REST service return type can be set among the options HTML, XML, JSON and RSS
There are a number of Authentication options that the Denodo developer can use for securing the REST service calls and prevent unauthorized access to the Denodo business view data.

I will continue with "None" option for the sake of this Denodo tutorial.
After the developer is finished with REST web service configuration, he/she can save the service configuration using the Save button.
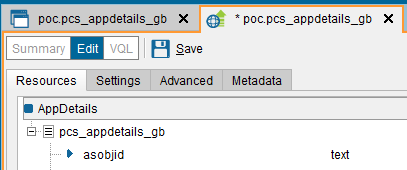
After the web service is saved for the first time, it will be in status "Not deployed"
Click on the Deploy button to publish the REST web service.
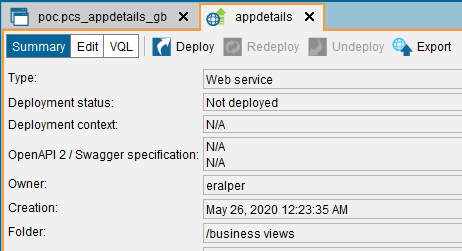
When the Deploy button is clicked, a popup screen will be displayed.
The developer will be defining the credentials used by the web service to connect to Denodo Virtual DataPort server.
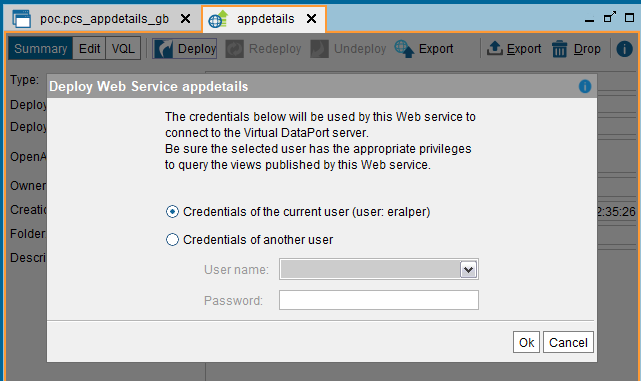
Select the appropriate option and click Ok to continue publishing the Denodo web service.
The Deployment status is now changed to "Deployed"
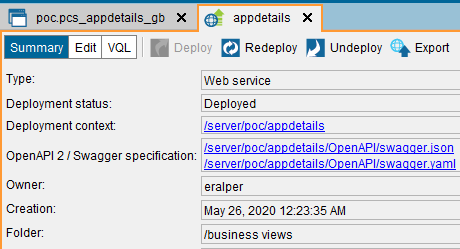
The web service is deployed to address /server/{database name}/{web service name}/
The database of the data view was "poc" and I renamed the REST service name to "appdetails"
I can now launch a web browser and can access the web service by calling the URL as seen below:
http://10.159.85.54:9090/server/poc/appdetails/
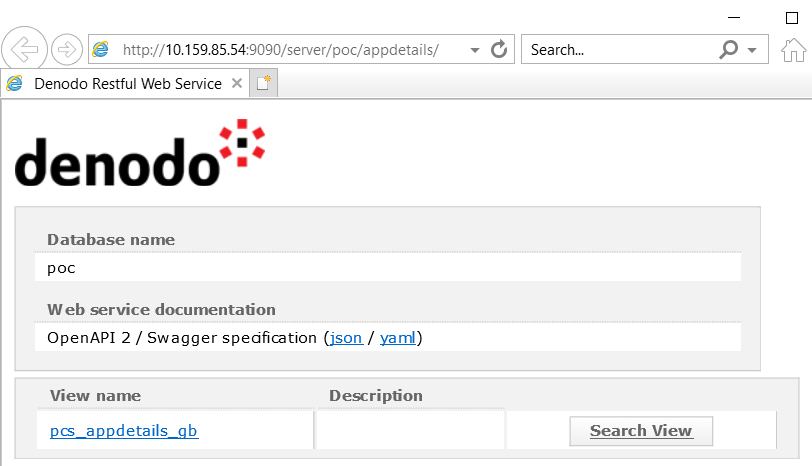
If you click on "Search View" link button, you can configure a search URL and display the data rows returned by the web service call.
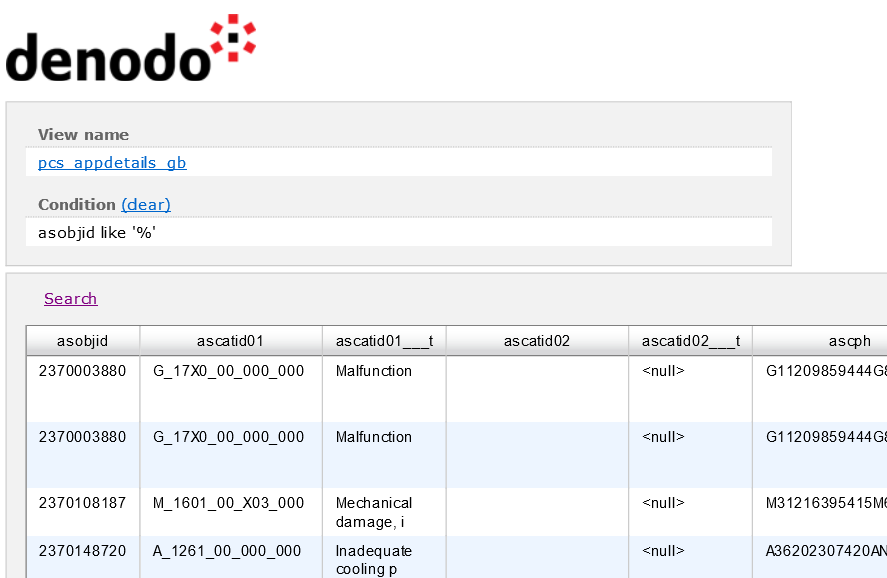
Since during configuring the REST web service, I limited the size of the responses to maximum 1000 number of rows, I had a paginated with and a "Next" link on the HTML representation of the web service call return.
I have installed the Denodo Platform on an EC2 server on AWS cloud environment which is connected to the company intranet using a VPN connection. For a successful connection, first of all the port 9090 should be opened on VPN connection. The Denodo server should accept inbound connections over port 9090. Admnistrators should check the Windows Firewall settings and enable port number 9090 to accept connections. On cloud, in an AWS infrastructure, the security group settings for inbound connections should be also checked for TCP traffic over port 9090. After all these security configurations, developers can call REST web service which is developed on Denodo server based on a data view and deployed or published for general availability according to the authentication method chosen during configuration settings.
I hope, this Denodo tutorial showing developers to publish business views as REST web services is useful for all.
