Connect AWS S3 Bucket Files from Denodo Virtualization Platform
Denodo Platform 7.0 is one of the leader data virtualization software in the market. Using Denodo SQL developers can access Amazon S3 bucket files and query data in S3 bucket files using SQL easily. In this Denodo data virtualization guide I want to show the steps to connect AWS S3 buckets within Denodo Virtual DataPort Administration Tool.
Download Denodo Distributed File System Custom Wrapper
For Denodo developers in order to connect AWS S3 object store, the first step is to install Denodo Distributed File System Custom Wrapper on Denodo Platform 7.0
Data virtualization developers can download Denodo Distributed File System Custom Wrapper add-on from Denodo Support Site. When you sign in to Denodo Support and go to "Downloads > DenodoConnects" using top menu as seen in below screenshot.
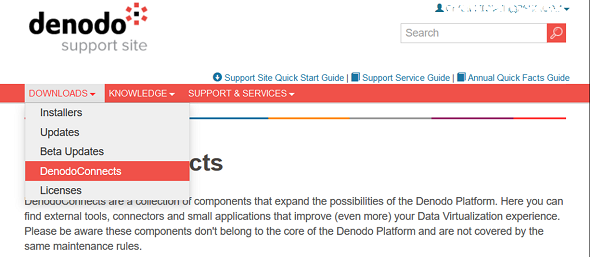
Denodo Distributed File System Custom Wrapper component is available for registered customers to download from "Denodo Connects" on Denodo Support Site.
Using Denodo Distributed File System Custom Wrapper component data virtualization architects can access files stored on HDFS, Amazon S3, Azure Data Lake Storage, Azure Blob Storage, Azure Data Lake Storage Gen 2 and Google Cloud Storage within Denodo.
Five VDP wrappers enable SQL developers to read content of text files in following formats:
Delimited Text Files,
Sequence files,
Map files,
Avro files, and
Parquet files
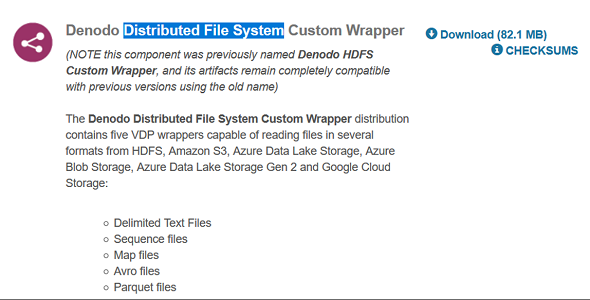
The custom wrappers retrieve contents of the files and enables SQL programmers to read the data in a relational format.
After you download the custom wrapper for Denodo extract it

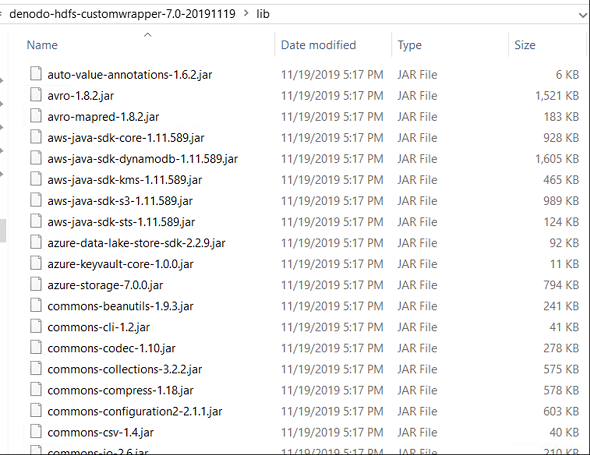
After you extract the HDFS custom wrapper, you can see the included .jar files that will be used by Denodo to connect different object storage system and different file formats like Amazon AWS S3, Azure Storage and Azure Data Lake Store, Google Cloud Storage, etc.
Install Custom Wrapper in Virtual DataPort Administration Tool
For data virtualization architects and developers to use "Denodo Distributed File System Custom Wrapper" and any other Denodo extentions within Virtual DataPort Administration Tool, first of all you must import the Denodo extension and configure it using Virtual DataPort.
Launch Virtual DataPort Administration Tool and follow menu options "File > Extension management"
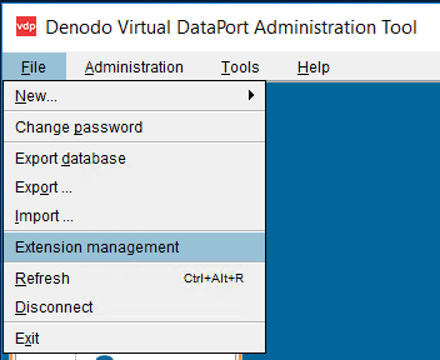
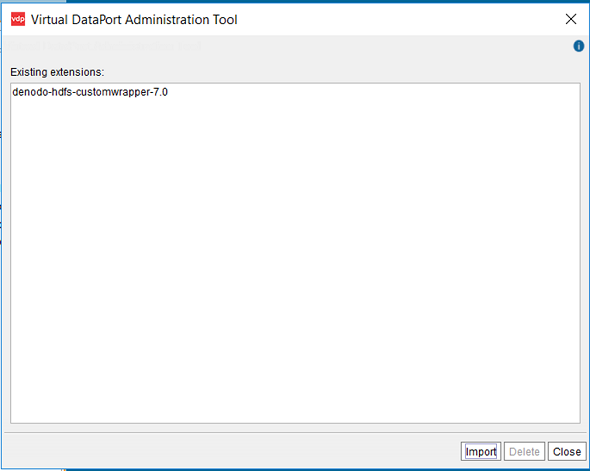
If you are doing this for the first time the existing extensions list will be empty as seen in below screenshot
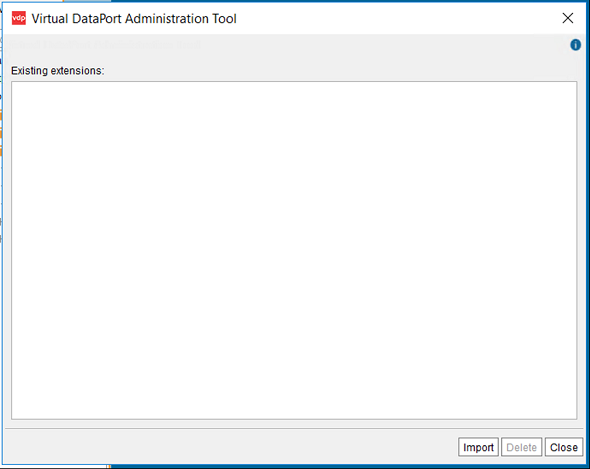
Click on Import button and choose file "denodo-hdfs-customwrapper-7.0-20191119-jar-with-dependencies.jar" from extracted file "dist" folder.
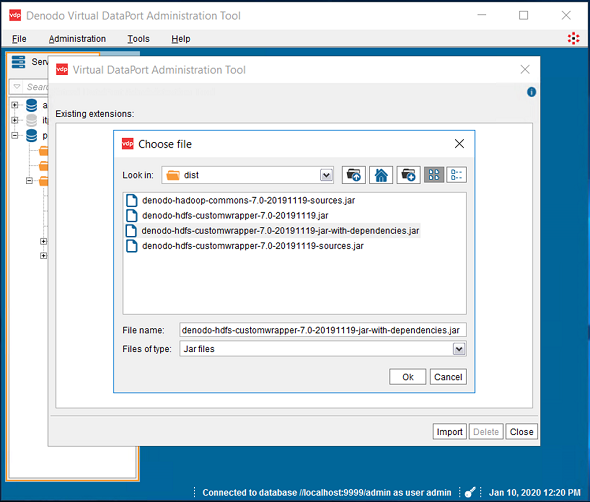
After you select the file click OK button.
In some cases especially if the memory reserved for the usage of Denodo Platform is not enough, data virtualization professionals can experience Java heap space error messages. If you have the same error, please refer to following Denodo tutorial Increase Denodo Java Heap Space Memory Options to increase the Java heap space of your Denodo instance.
If the Denodo extension import is successfull then you will be informed about the new custom wrappers as follows:
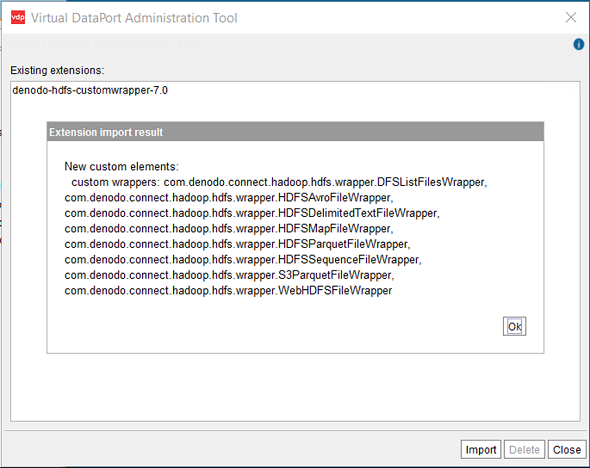
Click OK to close above screen
Click Close button to complete extension import task on Denodo data virtualization software.
Create New Data Source Connecting to AWS S3 Bucket on Denodo
Launch Virtual DataPort Administration tool and create a new data source by following menu options "File > New... > Data source > Custom.
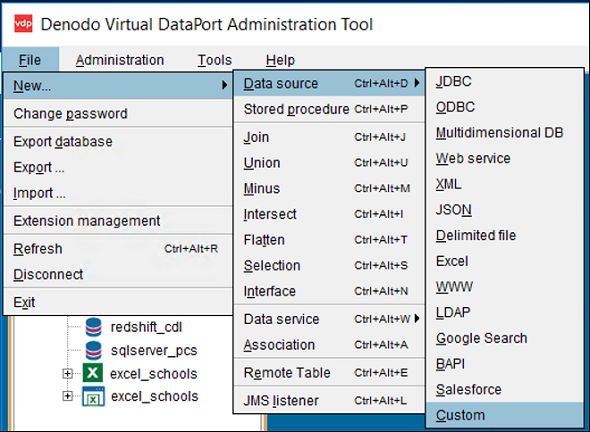
This selection will launch a connection creation wizard for connection to an object storage data source using the previously imported custom wrapper or Denod extension.
When the "new custom data source" wizard is displayed, first of all mark the checkbox named "Select Jars"
Then from the displayed list highlight "denodo-hdfs-customwrapper-7.0"
Now the Class name drop down list will be populated with a list of items.
Select "com.denodo.connect.hadoop.hdfs.wrapper.HDFSDelimitedTextFileWrapper" as the class name
The order of the above selections is important. You don't have to type anything, if you failed to achieve the desired outcome, revisit the order of the actions.
If all is OK, type a short descriptive name for the data source in "Name" textbox
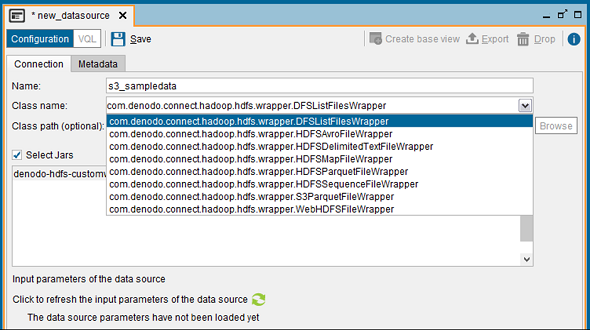
Before you Save the data source configuration, click on green refresh icon which will enable us to provide information to the input parameters of the data source.
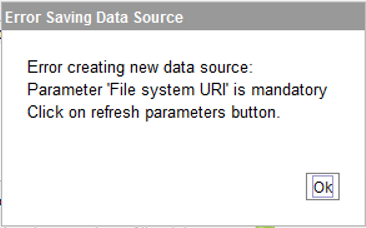
If you click Save before providing these input parameter values, following error will occur:
Error creating new data source:
Parameter 'File system URI' is mandatory
Click on refresh parameters button.
So click on refresh icon ![]()
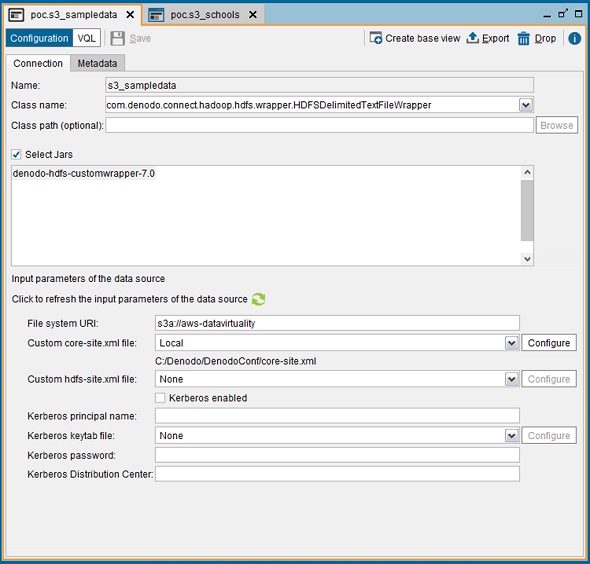
When additional input parameter textboxes are displayed provide the bucket name in format "s3a://bucketname" in File system URI
For AWS region information, access key and secret key for authentication; we will create a new configuration file, put all these information in that configuration file and map to it in "Custom core-site.xml" file. We can point to that file selecting "Local" from drop down list and pressing "Configure" button to browse file system for selecting our configuration XML file.
Here is the contents of sample configuration core-site.xml file I created at path "C:/Denodo/DenodoConf/core-site.xml".
Please note that the core-site.xml file includes AWS S3 bucket's region information.
To access S3 bucket folder using S3 service AWS access key ID and AWS secret key information is also provided within the configuration file.
<?xml version="1.0" ?>

<?xml -stylesheet type="text/xsl" href="configuration.xsl" ?>

<configuration>

<property>

 <name>fs.s3a.endpoint</name>

 <description>

 AWS S3 endpoint to connect to. An up-to-date list is

 provided in the AWS Documentation: regions and endpoints. Without

 this property, the standard region (s3.amazonaws.com) is assumed.

 </description>

 <value>s3.eu-central-1.amazonaws.com</value>

</property>

<property>

 <name>fs.s3.awsAccessKeyId</name>

 <description>AWS access key ID</description>

 <value>XXXXXXXXXXXXXXXXX</value>

</property>

<property>

 <name>fs.s3.awsSecretAccessKey</name>

 <description>AWS secret key</description>

 <value>XXXXXXXXXXXXXXXXXXXXXXXXXXXXX</value>

</property>

</configuration>
If you don't know the AWS region code for the AWS regions name where your bucket file is created for, please refer to AWS Region Names and Codes for Programmatic Access guide.
Here is the file core-site.xml I created for AWS S3 access

After you select "Local" and press "Configure" button, below "Edit Local Connection" screen is displayed where you can browse and select the core-site.xml file
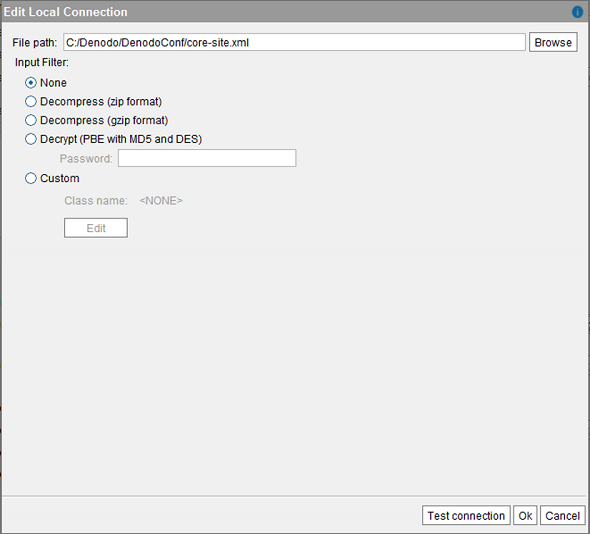
Test Connection and if successfull click OK
Then now you can Save on main screen
Although the Test Connection is successfull sometimes Save action can fail with an error message indicating HTTP call to S3 service over 443. If you experience such a problem, you can create an endpoint between AWS S3 service and the VPC of the EC2 machine Denodo server is installed on.
Create Base View for AWS S3 Bucket CSV File on Denodo Platform
After all above steps are completed, SQL developers can create a base view for a CSV file stored on an AWS S3 bucket folder to query contents of the file using standard SQL on Denodo data virtualization tool.
On custom data source, click on "Create base view" link button.
"Edit Wrapper Parameter values" screen will be displayed.
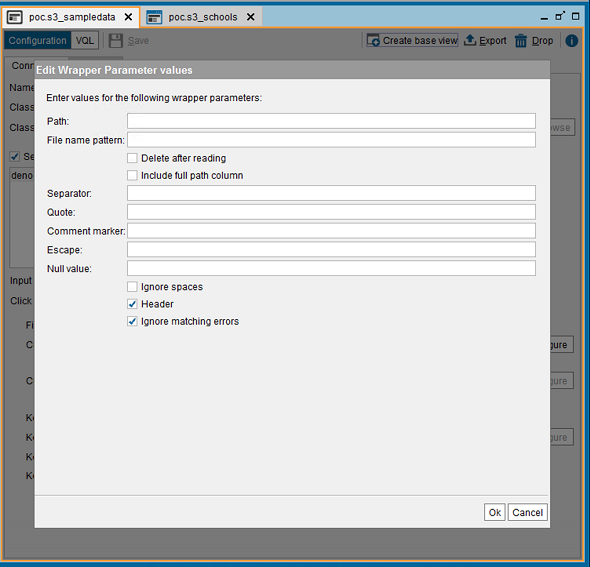
On Path, just type the path of the file after the bucket name similar to below sample in format:
/sampledata/schools.csv
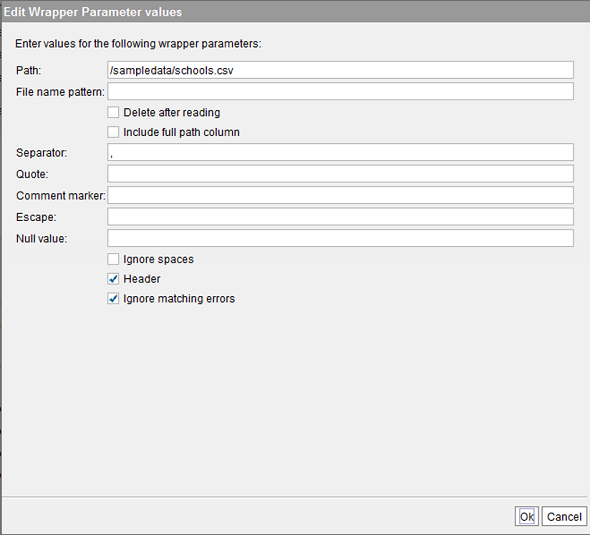
When you click OK button, the view schema will be displayed as follows
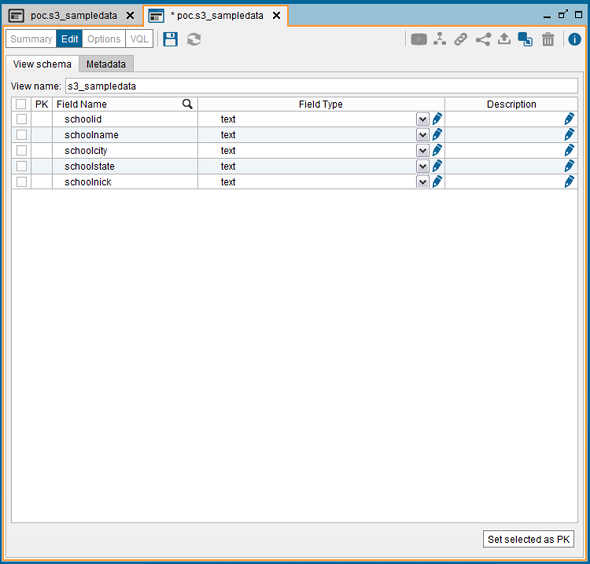
Select Primary Keys if possible
Type a descriptive name on "View name" then click Save icon
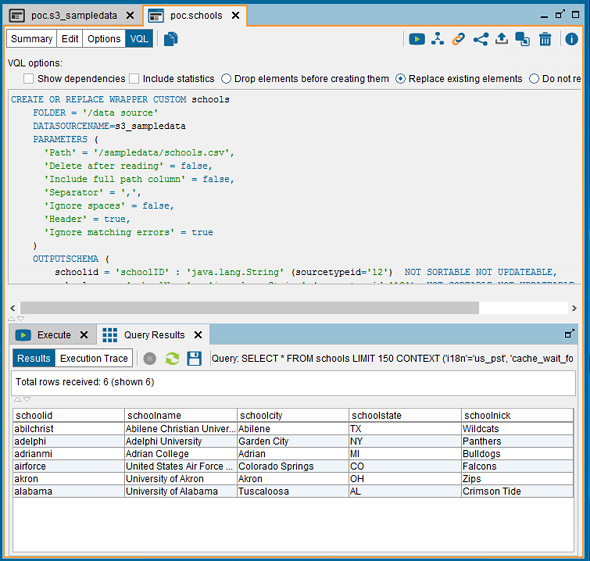
After base view is selected, VQL tab will be activated. Switch to VQL and open Execution Panel and Execute query
