Enable Access to Amazon Redshift in Private Subnet from Internet
If you are building applications on AWS cloud, for your analytic workloads you are probably using Amazon Redshift cloud data warehouse provided by AWS.
In general it is best practise to protect data platforms including databases and data warehouse clusters by placing them in a private subnet in your VPC and only allow from computing resources within the VPC.
To allow an AWS computing resource to access Amazon Redshift data warehouse cluster, AWS administrators acn use the security groups inbound rules.
Of course, you may require to allow public access or access from internet to your Amazon Redshift databases. In this case, data architects will probably place the data warehouse cluster in a public subnet and allow public accessibility for the Redshift DWH on settings page of the cluster.
Architecture with ELB and Amazon Redshift
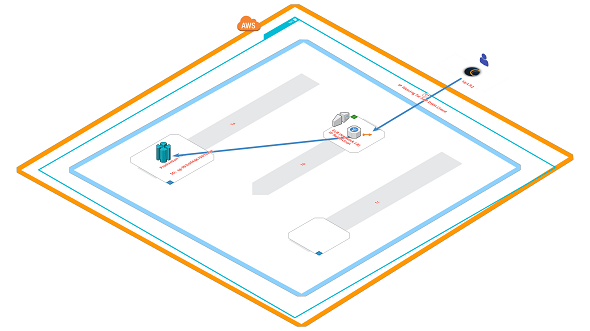
In this AWS tutorial, I want to share an architecture which will allow inbound traffic from specific IP addresses to an Amazon Redshift cluster which is created within a private subnet so not allowing direct access from internet.
As seen in below architecture diagram, we plan to place an internet facing Amazon Elastic Load Balancer, ELB in front of the Redshift cluster and route the allowed public traffic to Amazon Redshift DWH over this ELB
Allocate Elastic IP
Let's start by creating an Elastic IP address for our access end point to our Amazon Redshift cluster from internet.
Actually as the solution implies, we will create an Elastic Load Balancer which directs internet traffic to Amazon Redshift database.
And the Elastic IP address (static IP) will be assigned to this ELB instance.
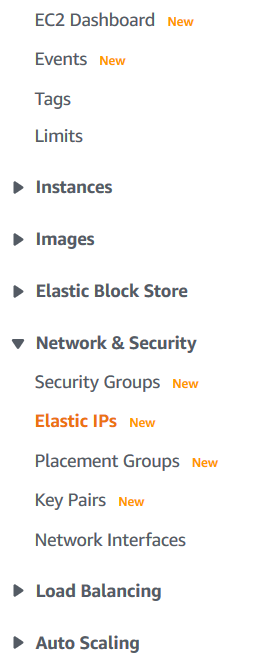
Go to EC2 Dashboard and drill down the menu "Network & Security" and choose Elastic IPs
Click on "Allocate Elastic IP Address"
![]()
In next screen I will indicate that I prefer to allocate a new static IP or elastic IP from Amazon's pool of IPv4 addresses
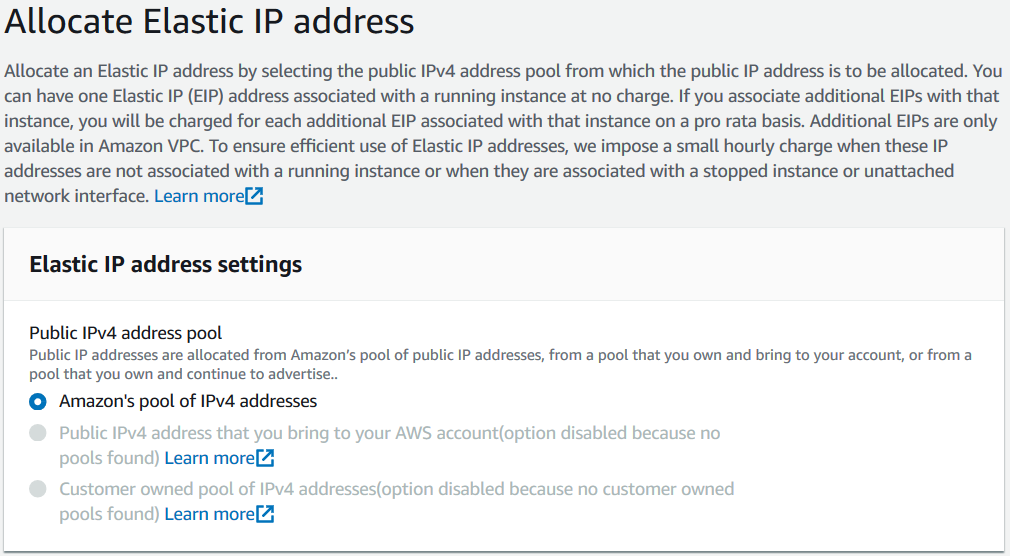
When you click Allocate an Elastic IP address will be assigned for your account for your use.
In the following section we will assign this IP address to our Elastic Load Balancer.
Please note, assigned elastic IP addresses do not cost anything.
But if you create the elastic IP and reserve that static IP adddress and do not assign it to a resource in your account you will have to pay an amount for such unused unassigned elastic IP addresses.
Take the allocated IP address in your notes, soon we will use it. (3.123.245.181)
Create Elastic Load Balancer
We can continue with the second step to fulfill the AWS architecture we have drawn for the solution of the requirement.
Launch the EC2 Dashboard and from the left menu switch to Load Balancers feature listed under Load Balancing submenu
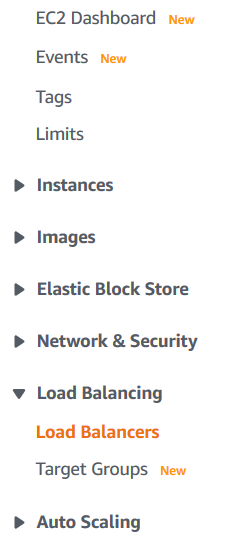
Create a new load balancer by pressing "Create Load Balancer" button
![]()
Select the Network Load Balancer type by pressing the Create button on its area
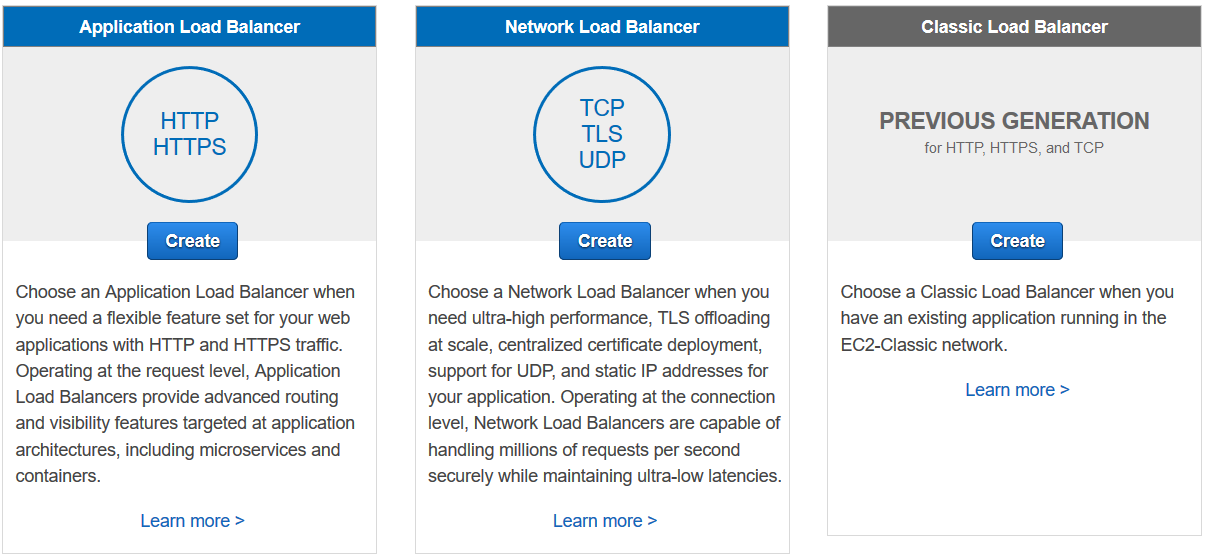
Let's review the features of a Network Load Balancer
Network Load Balancer
Choose a Network Load Balancer when you need ultra-high performance, TLS offloading at scale, centralized certificate deployment, support for UDP, and static IP addresses for your application. Operating at the connection level, Network Load Balancers are capable of handling millions of requests per second securely while maintaining ultra-low latencies.
In fact, we require a static IP address which will be provided by Network Load Balancer and Elastic IP.
In addition to this, we can also use TLS encryption for the data in transit to harden the security of our solution.
We will follow the below steps for creating the network load balancer for our solution:
Configure Load Balancer,
Configure Security Settings,
Configure Routing,
Register Targets,
Review
![]()
First step is configuring the elastic load balancer
First type a descriptive name and choose the scheme option internet-facing. This is important.

Then we have to define the Listeners
Since Amazon Redshift Data Warehouse cluster is communicating over TCP port 5439, I will remove the default TCP 80 port and add TCP 5439 port as the new Listener of our internet-facing Elastic Load Balancer.
At this step choosing the TLS or secure TCP protocol is more convenient for a more secure traffic preventing your data flow on the web from courious eyes.

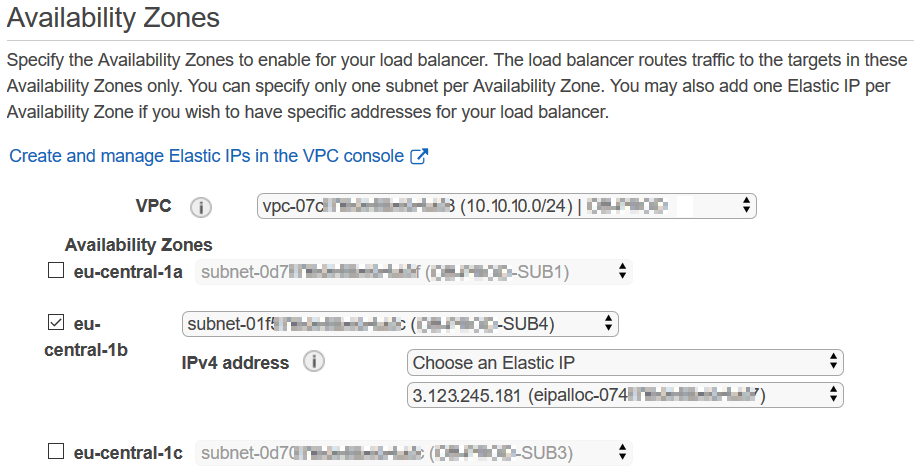
Next configuration is for choosing the Availability Zones (AZ) for the network load balancer, NLB.
Since this AWS ELB will be internet facing, choose one or more of the public subnets in your VPC where the Amazon Redshift database cluster is running.
So first choose the VPC then the public subnets of that VPC
For the IPv4 address selection, I prefer to use the elastic IP address which I have created in the first part of this tutorial.
You should definetely add tags to your resources.
This will help managing your AWS resources later.
The next step is configuring the routing options
First we have to define a target group and add the Redshift cluster as a part of it
Check IP option
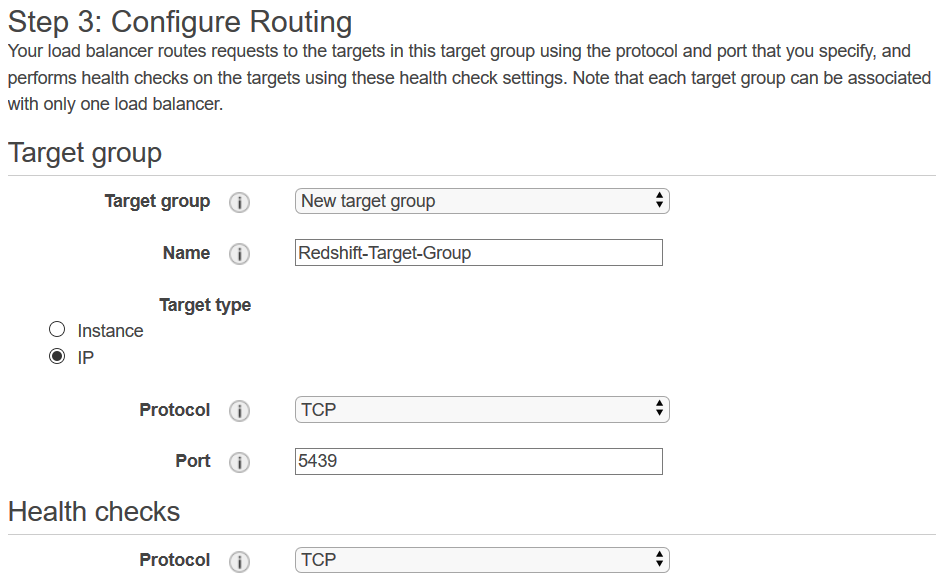
Health checks will be done over TCP
Now we are ready to register targets.
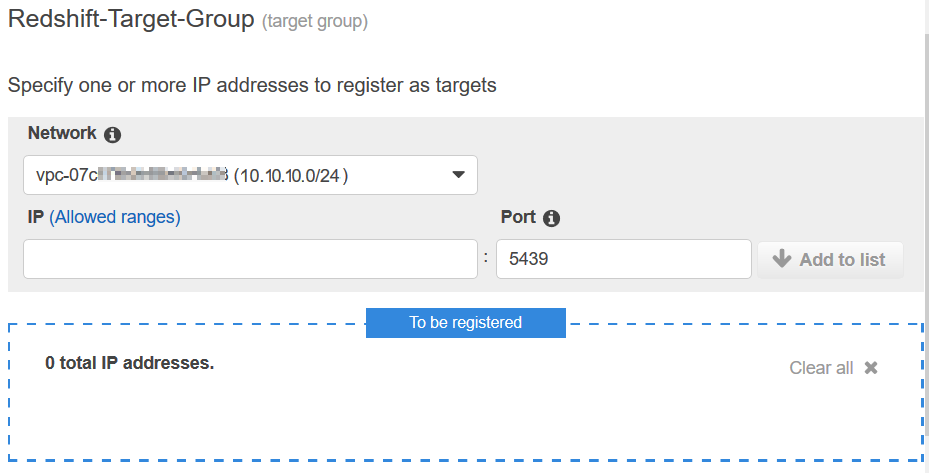
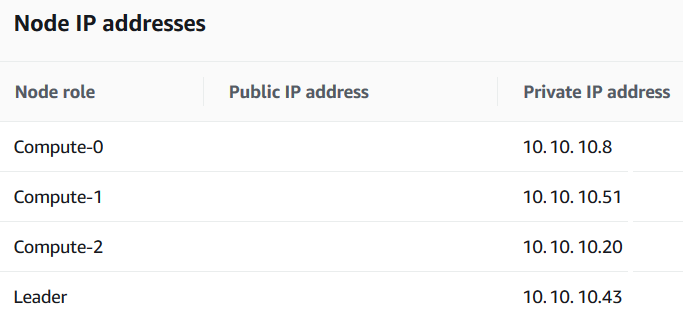
Add the leader IP address of the Amazon Redshift cluster, 10.10.10.43
You can learn the leader node IP address of your Amazon Redshift cluster from the cluster properties screen on Amazon Management Console.
The Redshift cluster leader node IP address will be registered and listed in the blue box as part of the NLB target group.
After all configuration steps are completed on Network Load Balancer creation, Review the configured values and complete the process to Create the Amazon NLB
If the load balancer creation step is successfully completed, you will be informed on the AWS Management Console
Security Group
Now to summarize, we have created an AWS ELB Elastic Load Balancer and assigned it to a static IP using Elastic IP. In addition to that we registered our Amazon Redshift cluster which is in private subnet as a target of the network load balancer. So we expect users coming from internet can also access to our private Amazon Redshift Data Warehouse.
Of course, if the Redshift is installed or modified as allowing to public access, then we don't need this configuration. Since it has already a public IP address and spinned up within a public subnet in the VPC.
One last thing, we should be sure about it the security group settings which are considered as logical firewall around AWS resources.
In this case, the Redshift security group should allow access to the inbound traffic coming from the Elastic Load Balancer.
The security group of the Amazon Redshift database can be seen on Properties tab Network and Security section of the Redshift cluster.
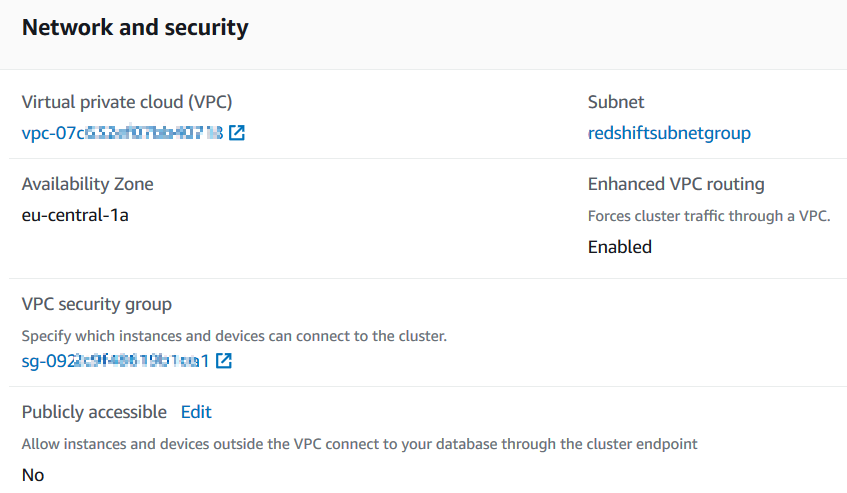
Click on the security group and then switch to inbound rules tab to add the ELB to grant access to the Redshift database
As last note, since you are allowing access to your Amazon Redshift Data Warehouse cluster from Internet, tighten your security on AWS as much as possible. You can use TLS or even VPN if possible for the traffic from your Amazon Elastic Load Balancer and the connected internet resources. You can use firewall rules, security groups and Network Access Control List (NACL) settings to to limit allowed IP addresses as much as possible. Do not allow simple user passwords for the Redshift users connecting to your databases.
