Upload File to Amazon S3 Bucket using AWS CLI Command Line Interface
In this AWS tutorial, I want to share how an AWS architect or a developer can suspend auto scaling group processes which enables users to disable auto scaling for a period of time instead of deleting the auto-scaling group from their AWS resources.
In this AWS CLI Command Line Interface tutorial, I want to show developers how to install the Amazon AWS CLI tool and configure AWS CLI for authenticating on Amazon Web Services, proxy configuration and authentication on web proxies, etc. After programmers configure AWS CLI tool, then they will find a few basic samples of using AWS CLI with Amazon S3 service like uploading file to S3 bucket, synchronizing a local folder to Amazon S3 bucket and listing contents of a bucket folder, etc.
Install AWS CLI Tool
In this AWS tutorial for programmers, I want to show how AWS CLI commands can be used to copy file or files of a folder into an Amazon S3 bucket folder. First we have to install the AWS CLI tool. The latest version of AWS CLI is version 2. If you have installed previously an older version of the AWS CLI command line interface tool, you can choose to uninstall it first then install the new AWS CLI software version as shown in this tutorial.
To uninstall previous AWS CLI version, developers can use the "Apps and Features" Windows 10 app. Just search for Apps and features in search box and when the application is displayed search for "aws", if the AWS CLI tool is previously installed you can see it in the filtered list of applications.
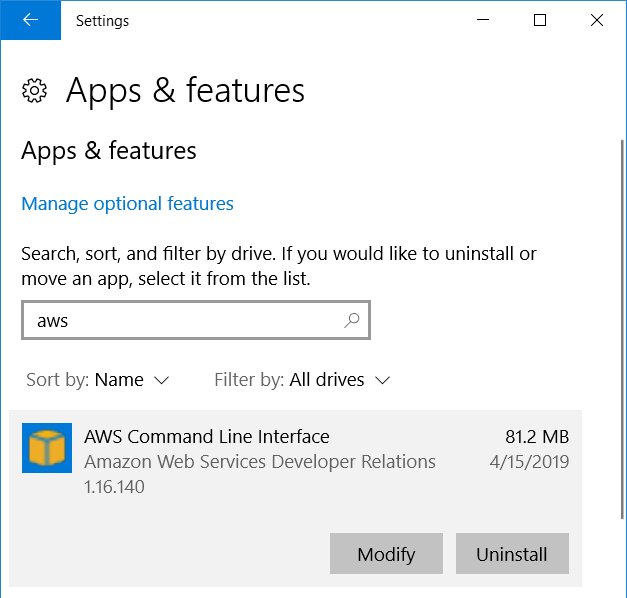
If you have installed AWS Command Line Interface CLI version 1, then you can uninstall this software before installing the version 2 of it. It is not possible to run both versions of AWS CLI side by side.
Click Uninstall to remove the AWSC CLI version 1
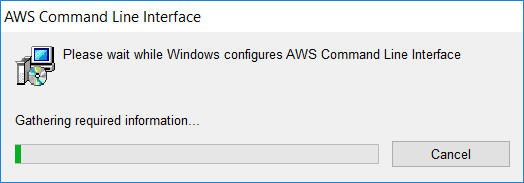
Download new version, AWS CLI version 2, you can use the download AWS CLI Version 2 link
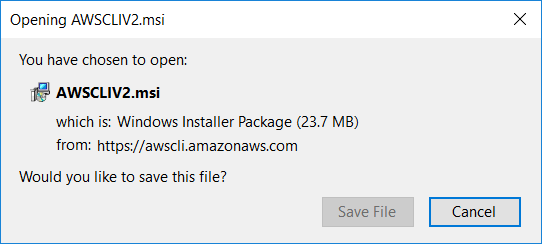
After you complete AWS CLI v2 installer file download, run the setup program AWSCLIV2.msi
The setup completes within a few minutes after your selections as seen in following screenshots.
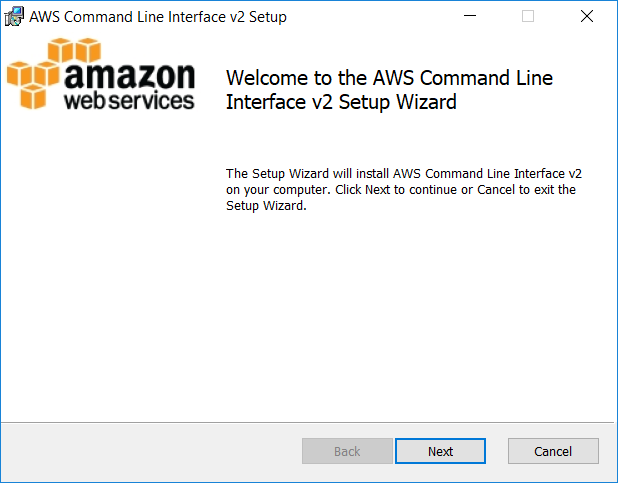
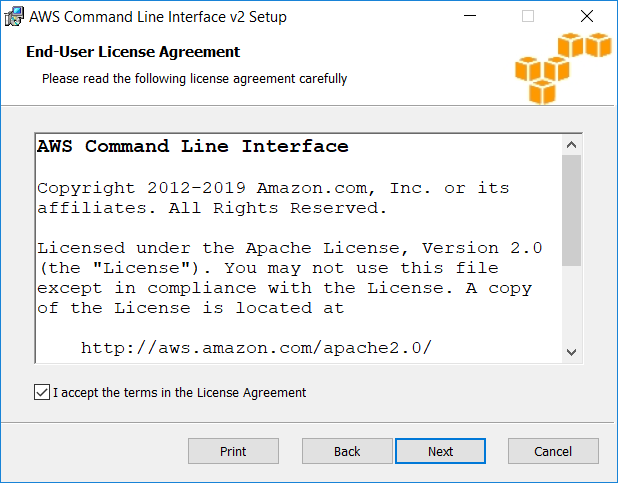
Click Next button for next step where you approve the license agreement.
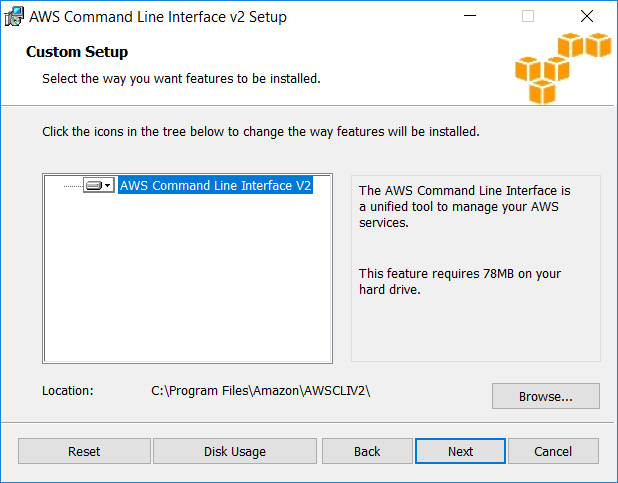
Next step is selecting the installation folder on your Windows PC for the AWS CLI software
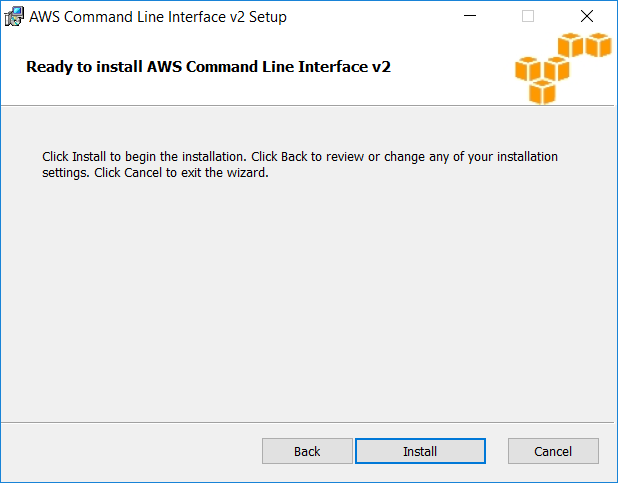
Click Install for starting the setup process
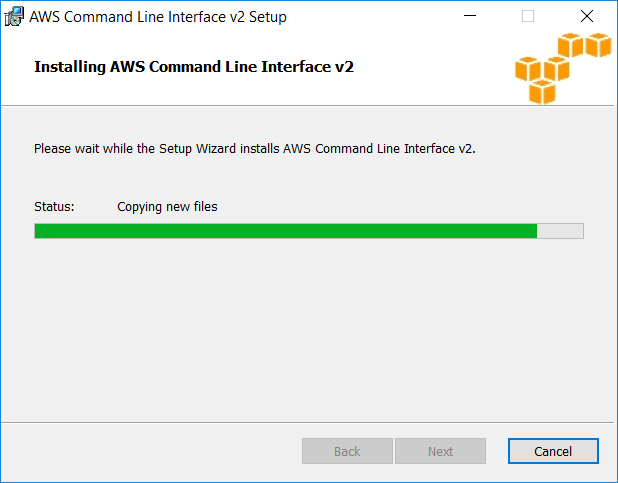
Installation takes only a few minutes
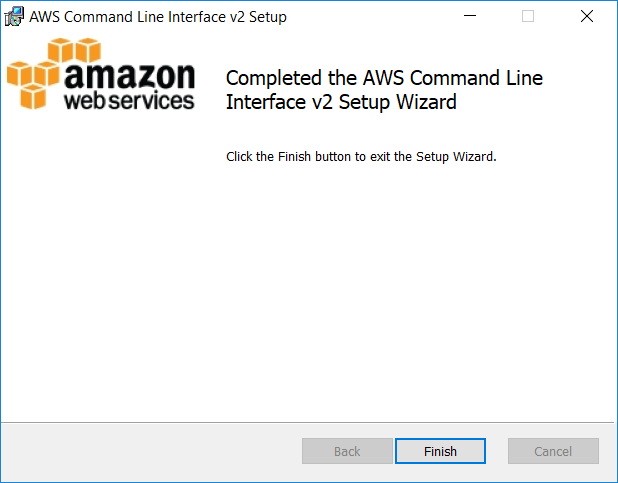
Setup complete. Developers can now use AWS CLI to build applications that interact with Amazon Web Services using the provided APIs.
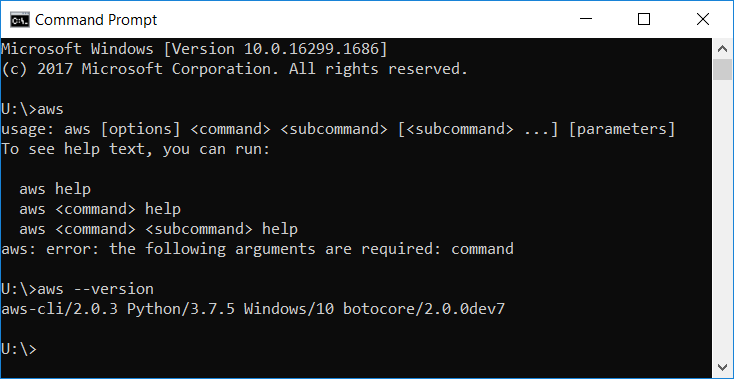
When the installation is complete, programmers can check the version of AWS CLI software installed by execution following command on a new Command Prompt screen
aws --version
aws --version
The output was as follows when I ran the AWS CLI version check command:
aws-cli/2.0.3 Python/3.7.5 Windows/10 botocore/2.0.0dev7
AWS CLI Configuration
Before using the AWS CLI commands, programmers have to configure their AWS account details, proxy settings, proxy authentication details, etc.
Let's start with AWS CLI Configuration as described at AWS documentation
Run below "configure" command on a Windows Command Prompt screen.
aws configure
Now with "AWS Configure" command actually we are creating or updating the default profile that will be used for authenticating to AWS service.
We define the AWS Access Key ID and the Secret Access Key for validating the account.
Additionally, we provide the default region for services like AWS S3. If you don't know the AWS region code but know the region name, you can refer to AWS Region Names and Codes for Programmatic Access
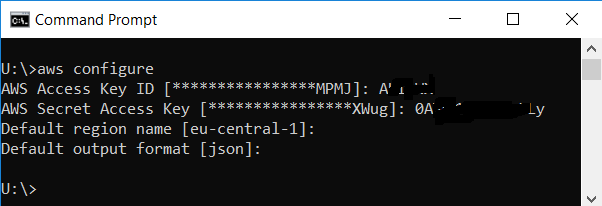
When the default AWS CLI profile is created, the commands that we will execute afterwards will be authorized on AWS with this information.
Now let's try uploading sample files to an Amazon S3 bucket on your AWS account.
If you don't know the AWS S3 buckets you know you can log on to your AWS Console and check for the possible S3 buckets that your account has required permissions for listing, uploading and reading files from.
I have a bucket named "aws-datavirtuality" that I can use for this AWS CLI tutorial with its default region I stated while configuring the default AWS CLI profile.
I will use the copy command "cp" which is used to copy or upload files from a local folder on your computer to an AWS S3 bucket or vice versa.
Developers can also use the copy command to copy files between two Amazon S3 bucket folders
aws s3 cp cities.csv s3://aws-datavirtuality
For more on AWS CLI cp Copy command, please refer to AWS CLI Reference - cp
One more note here, on command prompt I have navigated to the Windows folder where the sample csv file that I want to upload to Amazon S3 bucket exists. If you check the screenshot, you can realize that I am not in the root folder of the C drive. Of course it is possible to provide the full path oof the sample file too. It is up to you.
If you are using a web proxy and you have not yet configured your proxy details and authentication information, it is possible that you will experince below proxy error after the AWS CLI copy cp command is executed.

upload failed: .\cities.csv to s3://aws-datavirtuality/cities.csv Failed to connect to proxy URL: "http://USER:Password1*@proxy-url.com:8080"
Amazon Web Services documentation provides a good article on HTTP Proxy Configuration
Basically, if you know the proxy addresses and ports you can use following "setx HTTP PROXY" and "setx HTTPS PROXY" commands
 setx HTTP_PROXY http://your-proxy-address.com:8080

 setx HTTPS_PROXY http://your-proxy-address.com:8080
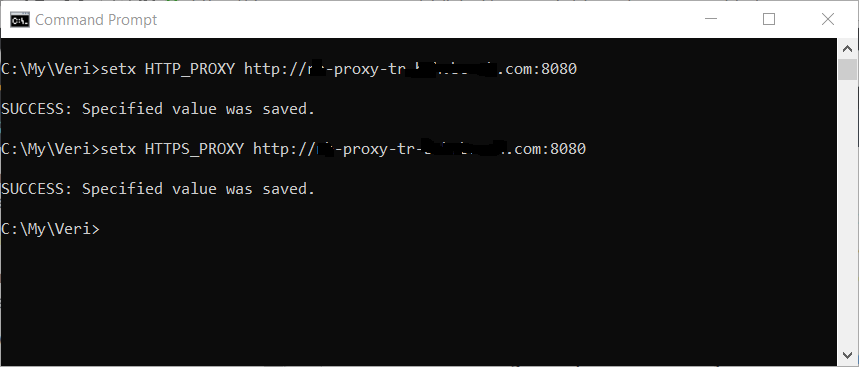
If you don't know which proxy you are using, you can check it simply on your Internet Explorer's settings. Follow the path:
Internet Options > Connections > LAN settings
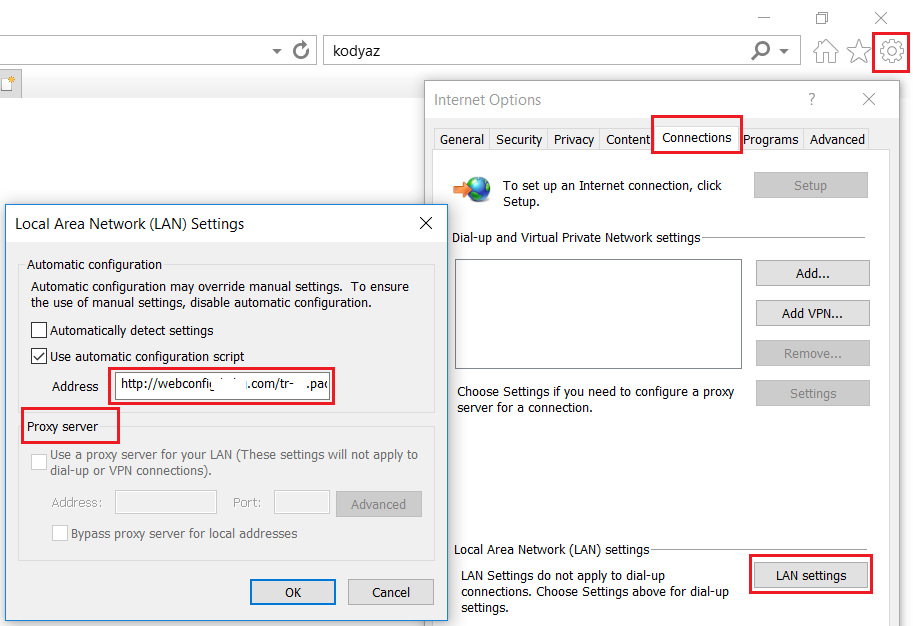
The proxy address is either explicitely set on "Proxy server" and "Port" text boxex or defined in the configuration script file.
Of course most cases you also need to authenticate on the proxy server.
In this case, by adding your domain user and domain password, you can build and run following command on Windows Command Prompt.
 setx HTTP_PROXY http://domainuser:password@your-proxy-address.com:8080

 setx HTTPS_PROXY http://domainuser:password@your-proxy-address.com:8080
Try once more on a new Command Prompt screen. Especially if you do configurational changes on Command Prompt for AWS CLI tool, I experienced that I have to launch a new screen to take changes into account.
C:\My\Veri>aws s3 cp cities.csv s3://aws-datavirtuality
It is not a surprise if the developers get following SSL validation error during file upload using AWS CLI cp command execution.
upload failed: .\cities.csv to s3://aws-datavirtuality/cities.csv SSL validation failed for https://aws-datavirtuality.s3.eu-central-1.amazonaws.com/cities.csv [SSL: CERTIFICATE_VERIFY_FAILED] certificate verify failed: self signed certificate in certificate chain (_ssl.c:1076)

In this case, programmers can use "--no-verify-ssl" option at the end of the command to ignore the SSL validation errors.
aws s3 cp cities.csv s3://aws-datavirtuality --no-verify-ssl
The execution output of the above AWS CLI cp command is as follows in my case.
C:\Program Files\Amazon\AWSCLIV2\urllib3\connectionpool.py:1004: InsecureRequestWarning: Unverified HTTPS request is being made to host 'your-proxy-address.com'. Adding certificate verification is strongly advised. See: https://urllib3.readthedocs.io/en/latest/advanced-usage.html#ssl-warnings
upload: .\cities.csv to s3://aws-datavirtuality/cities.csv
Although you get a warning message, upload succeeds

Upload Local File to Amazon S3 Bucket using AWS CLI cp Command
If developers wish to upload file to a subfolder instead of directly copying it to the root folder of the Amazon S3 bucket, they can use:
aws s3 cp cities.csv s3://aws-datavirtuality/sampledata/ --no-verify-ssl
Or use full path of file
C:\>aws s3 cp c:\my\veri\cities.csv s3://aws-datavirtuality/sampledata/ --no-verify-ssl
Use quotes if file name of folder name has spaces inside
aws s3 cp "c:\my\share\New Text Document.txt" s3://aws-datavirtuality/test/ --no-verify-ssl
Upload Folder Contents to Amazon S3 Bucket using AWS CLI sync Command
If you want to upload all contents of a file folder with a single AWS CLI command, instead of using copy command CP, folder synchronization command SYNC can be used as seen in following samples
 aws s3 sync c:\my\veri\ s3://aws-datavirtuality/sampledata/ --no-verify-ssl

 aws s3 sync c:\my\share\ s3://aws-datavirtuality/test/ --no-verify-ssl
SYNC command enables programmers using AWS CLI command to upload all contents of a file folder and grants the ability of multiple file upload to an AWS S3 bucket or to a folder in a S3 bucket.
List S3 Bucket Folder Contents using AWS CLI ls Command
To list contents of an Amazon S3 bucket or a subfolder in an AWS S3 bucket, developers can simply use AWS CLI ls command. Here is a sample of using ls (list) command.
aws s3 ls s3://aws-datavirtuality --no-verify-ssl
C:\Program Files\Amazon\AWSCLIV2\urllib3\connectionpool.py:1004: InsecureRequestWarning: Unverified HTTPS request is being made to host 'your-proxy-address.com'. Adding certificate verification is strongly advised. See: https://urllib3.readthedocs.io/en/latest/advanced-usage.html#ssl-warnings
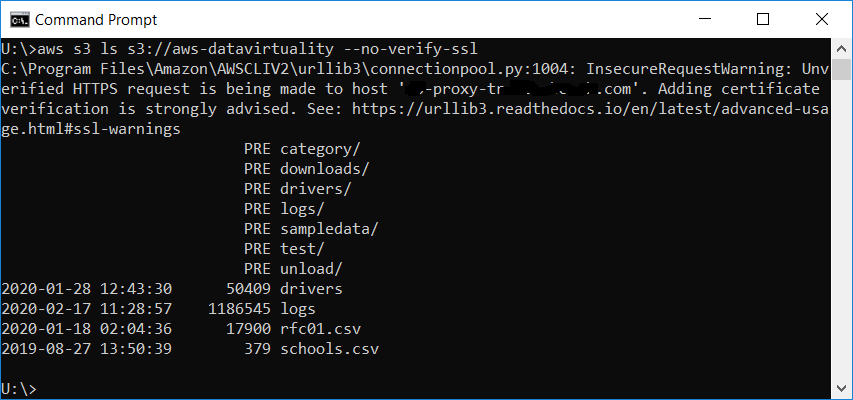
Please refer to Amazon CLI documentation for more detailed usage of AWS CLI ls command options.
Download File from Amazon S3 Bucket using AWS CLI cp Command
If the developers needs to download a file from Amazon S3 bucket folder instead of uploading a new file to AWS S3, then he or she can change the target and source and execute the same AWS CLI cp Copy command as follows:
aws s3 cp s3://mys3bucket/myfolder/filetodownload.txt downloadedfile.txt --no-verify-ssl
Download Amazon S3 Bucket Folder Contents using AWS CLI synch Command
If you want to download all files and subfolder contents of an Amazon S3 bucket folder, following AWS CLI synch command can be used:
aws s3 sync s3://mys3bucket/myfolder/ c:\localfolder\subfolder --no-verify-ssl
